Post your 'before' and 'after' pictures

Carroll

Senior Member
Here is an example of processing that many of you know, however, I just caught on to it.

BEFORE TONING
View attachment 136560

AFTER
View attachment 136563

When you convert a photo to black and white, the possiblilites are endless, I suppose.

Once I had made minor corrections, the last thing I did with the After photo was to "tone" it.

Here is what I did:

1. Loaded photo in PS. (Image was taken by my Granddaughter with her phone)

2. Converted it to Grayscale in "Image-Mode-Grayscale". This changed the image a little, by discarding the color information. Just keep going.

3. Converted it to Duotone in "Image-Mode-Duotone".

4. For this image, I then chose Quadtone in "Type".

5. Then in Preset, out of the dropdown menu, I chose Bl (that is an "L"-lowercase) 541 513 5773.

6. I then clicked on "OK".

7. I then loaded it in Nik Define, used the default, then changed the lightness and contrast back in PS. The original image was very nice IMO, just showing what one choice of toning will do...the options are endless, of course.

8. When you go to save this image to a .jpg file, for instance, you have to go back to "Image-Mode", and convert the file to RGB, otherwise you have limited file format saving options in greyscale mode.
 
Last edited:

J-see

Senior Member
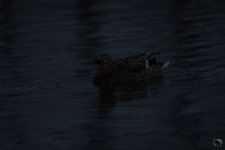
This is one of my better post jobs even if I have to say so myself. ;)

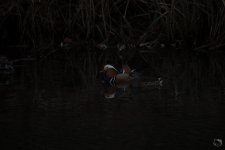
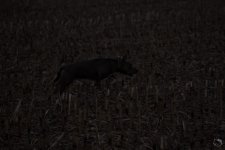
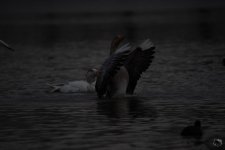
SOOC:

_DSC4152-2.jpg

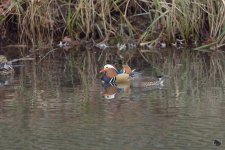
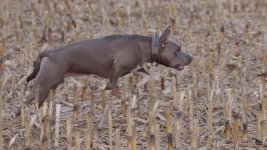
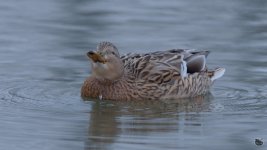
LR: Cam + lens profile and exposing the shot by adding 3 stops.

_DSC4152.jpg

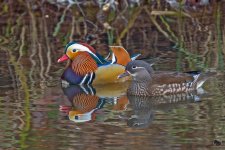
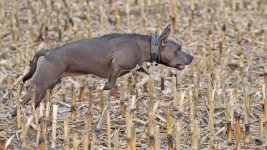
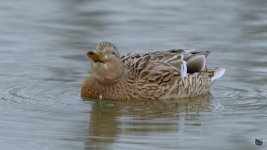
Then PS, adjusting levels, fine-tuning highlights and shadows, contrast and colors.
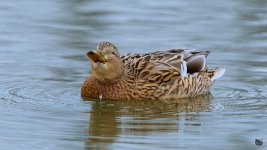
Then to LR again to do some finishing adjustments, cropping and sharpening. Finally added 1/3 stop exposure for the smaller JPEG.

_DSC4152-Edit.jpg

That's not bad at all for ISO 1600 light conditions.
 

J-see

Senior Member
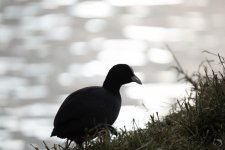
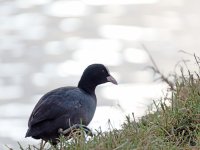
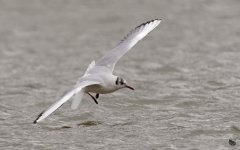
When I saw this fellow being backlit by the sun, I wanted to try and capture it in one shot. I had to pick some combination that didn't wash out the whole shot and still grabbed enough to get detail.

The sun hit the water hard and it resulted into a serious contrast shot.

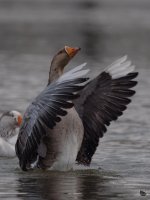
_DSC4252.jpg

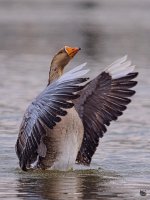
First some LR adjustments, then PS adjusting more than I can remember at the moment. Then back to LR for some final adjustments. It had an extremely nasty contrast fringe as you already see in the SOOC.

_DSC4252-Edit.jpg

Not perfect but I'm satisfied anyways.
 
Last edited:

J-see

Senior Member
Most of my processing has become very simple.

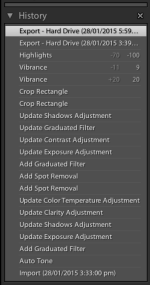
SOOC import in LR:

_DSC4867.jpg

Camera neutral profile + lens profile. I disable everything including sharpening. Crop what I need, adjust exposure and adjust the black and white point should one clip.

_DSC4867-2.jpg

Import into PS.

Adjust levels, highlights/shadows and curves and back to LR again.

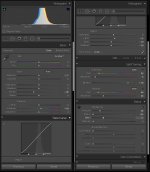
There I do some final tweaks:

LR.jpg

And ready:

_DSC4867-Edit-2.jpg
 

J-see

Senior Member
This is such a ridiculous simple way of processing I almost feel bad for the time I wasted before.

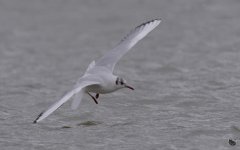
SOOC RAW+:

_DSC5411.jpg

Import LR. Preset that adds a gradient outside the shot with 3 stops of light. Crop.
Cam Neutral + lens profile. Everything including sharpening disabled. Move the black point to the opposite direction to expose the last bit.

_DSC5411-2.jpg

Import PS.

Enhance channel contrast. Shadow/highlight adjustment. Enhance monochromatic contrast. Lighten up by clipping the highlights. Save.

Import LR, vibrance +10, recrop smaller to clean up the right side. Sharpening 40. Done.

_DSC5411-Edit.jpg
 

Eyelight

Senior Member
I'm always amazed at the complexity of the sky as the sun sets and plays with the clouds.

DSC_1818_1024_01.JPG


This is just using Replace Color to darken one color.

DSC_1818_1024.JPG
 

dlscape

New member
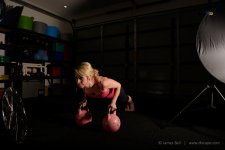
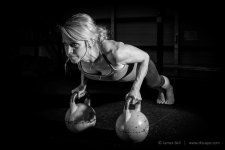
This was for a client at the end of last year. They wanted some dramatic photos for their website, here is one of the co-owners showing her skills;

BEFORE
before_01.jpg

AFTER
after_01.jpg

This was using LR to doing the initial tweaking and then Silver FX-Pro to really pull the stops out with the black and white version. This was lit from the right using an Elinchrom D-Lite RX 4/4 with a pop up reflector to the left to fill in the shadows a bit.

I'm new to this forum so would appreciate any feedback you feel like giving. I'm always open to suggestions, it's the only way to learn!

Thanks

James.
 

Carroll

Senior Member
This was for a client at the end of last year. They wanted some dramatic photos for their website, here is one of the co-owners showing her skills;

BEFORE

AFTER

This was using LR to doing the initial tweaking and then Silver FX-Pro to really pull the stops out with the black and white version. This was lit from the right using an Elinchrom D-Lite RX 4/4 with a pop up reflector to the left to fill in the shadows a bit.

I'm new to this forum so would appreciate any feedback you feel like giving. I'm always open to suggestions, it's the only way to learn!

Thanks

James.

Great BW processing! That image really showcases her dedication and skill. I think you hit the bullseye.

I also took some time to look through your images on your website. Wow...what a *treat* for my eyes and brain. Thanks.
 

J-see

Senior Member
I'm fine-tuning my new processing method.

First I import the RAW+ in LR:

_DSC5770-2.jpg

I increase exposure, set lens profile + cam neutral and disable everything else. I crop when needed.

_DSC5770.jpg

That one I edit in PS; enhance indiv. channel contrast and monochromatic contrast.

_DSC5770-Edit.jpg

Load into RAWTherapee to work at the colors and sharpen. If there's no fixing needed, I'm done.

_DSC5770-Edit-1.jpg

I might have overdone this one.
 
Last edited:
J-see

Senior Member
Not come across Raw Therapy before. What does it do that you can't do in PS ?

It's no competitor against PS but it is better than LR at several things. I'm still learning the program but since I first tried it, I directly ditched LR as my main RAW editor.

There's several things RT is better at. It has multiple approaches to color and tone control and in that, provides that much options, LR simply can't compete. I love the CIE color appearance options. Not only can you adjust all values, for most you can select curves and either do rough changes or add points and do fine-tuning.

At the level of sharpening it also is fantastic. It not only allows several different options for sharpening, like general sharpening or edge sharpening, it has splendid options like micro contrast or detail contrast which really enhance those little details. For noise too it is great. It's very advanced compared to LR's 3 sliders. I have loads of control over the noise, can select RGB or LAB for the noise and when using the high quality option together with median, it makes noise disappear LR simply can't handle. Add to that different demosaicing options, great WB control, loads of options I still need to figure out and you have a very advanced and very competent full image RAW editor.

It's not an all-rounder like LR which has plenty an option to tweak or fix parts of an image but as a work horse to do what matters, RawTherapee is simply better. Not just a bit; a whole lot better. I only use LR for my lens and cam options, then TiFF it to RT and when done, if needed use LR again to get rid of spots or anything else like that. LR mainly has become a catalog.

And RT is FREE. <--- try it.

PS might still be better but PS as a RAW editor is not the fastest option. At least not for me.

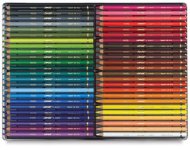
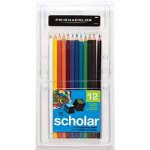
When it comes to color options, it's a bit like this:

LR
92804_PCSCCP_Ast_12cm_G_X.jpg


vs


RT
20517-1209-1-2ww-m.jpg
 
Last edited:
Top