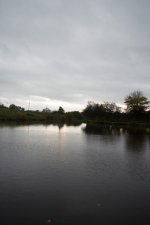
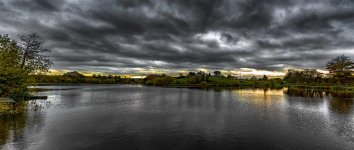
Post your 'before' and 'after' pictures

Blacktop

Senior Member
I used the "warp" tool in PSCC for the first time. I'm pretty happy with the results, although I think with some practice I could do better.
I had some really bad distortion on the left side of the image, that I could not get right with using the conventional lens correction tool in LR or PS.

If anyone who doesn't know where the "warp" tool is in PS, it's "edit>transform>warp" . You must select your image, or part of the image first. Then, you can start pulling on your image until it looks right.
I'm sure that there is more to it and you can do it differently, but I'm just doing basic stuff in PS so far. I think I got the wall pretty straight, but the left phone still looks a little distorted.

Cowan, Tennessee.-4246.jpg


Cowan, Tennessee.-4246 (1000x668).jpg
 

adot45

Senior Member
Where's Waldo

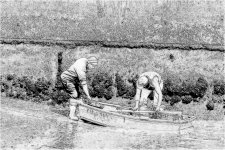
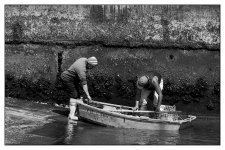
I used a program called Photo Filtre 7 to do this. A free program that I've used for basic stuff a long time. When I got a little more serious and started using NEF files I hoped that PhotoFiltre Studio would handle the job but nope, no support for NEF. Anyway, it did what I asked and I'm satisfied with how it turned out.

before

before a.jpg


after

after.jpg
 

wornish

Senior Member
Where's Waldo

I used a program called Photo Filtre 7 to do this. A free program that I've used for basic stuff a long time. When I got a little more serious and started using NEF files I hoped that PhotoFiltre Studio would handle the job but nope, no support for NEF. Anyway, it did what I asked and I'm satisfied with how it turned out.

To be honest I can't see any difference. Maybe my monitor needs adjusting.

What did you intend to do ?
 

WayneF

Senior Member
I used the "warp" tool in PSCC for the first time. I'm pretty happy with the results, although I think with some practice I could do better.
I had some really bad distortion on the left side of the image, that I could not get right with using the conventional lens correction tool in LR or PS.

Good, but the trick to prevent this type of distortion in the first place is to hold the lens perpendicular to the wall scene... meaning, the camera back plate held perfectly parallel to the wall (level, front to back).

Specifically, the camera not pointed up or down, which is what causes it. You can see this slanting in the viewfinder, so just think to fix it at the time. Just view a similar wide angle scene now, and aim the camera up or down a bit, and see it change.
 

Blacktop

Senior Member
Good, but the trick to prevent this type of distortion in the first place is to hold the lens perpendicular to the wall scene... meaning, the camera back plate held perfectly parallel to the wall (level, front to back).

Specifically, the camera not pointed up or down, which is what causes it. You can see this slanting in the viewfinder, so just think to fix it at the time. Just view a similar wide angle scene now, and aim the camera up or down a bit, and see it change.
Yes, you are correct. I think of it when Im doing outside landscapes, but forget sometimes indoors since I do so little indoor shots like these. Must train myself .

Sent from my VS985 4G using Tapatalk
 

RocketCowboy

Senior Member
Specifically, the camera not pointed up or down, which is what causes it. You can see this slanting in the viewfinder, so just think to fix it at the time. Just view a similar wide angle scene now, and aim the camera up or down a bit, and see it change.

The D750 provides a 2D virtual horizon view to, correct? So you can see/verify whether the camera is level left/right but also front/back?
 

WayneF

Senior Member
The D750 provides a 2D virtual horizon view to, correct? So you can see/verify whether the camera is level left/right but also front/back?

I think it has that. It might be handy for setting up for something like a panoramic, but for pictures of walls, my notion is that it is easy to just look at the wall in the viewfinder. :)
 

J-see

Senior Member
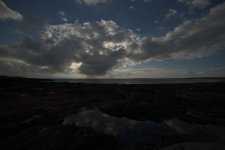
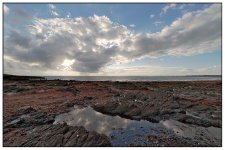
I love highlight metering. It allows me to expose nicely so I don't blow any and then simply recover the "lost" shadow information in post. Especially the D750 rocks at this.

SOOC:

_7508712-1.jpg

Post:

_7508712.jpg
 
Top