You are using an out of date browser. It may not display this or other websites correctly.
You should upgrade or use an alternative browser.
You should upgrade or use an alternative browser.
Star Photography One on One
- Thread starter Wahugg
- Start date
So what difference does focal length make on the amount of taken it takes for the stars to move / leave a trail? What I mean is, irrespective of the focal length, the earth is rotating at the same speed, so why does it vary based on focal length?
Sent from my iPhone using Tapatalk!
Sent from my iPhone using Tapatalk!
When you are using a bigger focal length, you are zooming in on the stars, thus their movement is also 'enlarged'. Maybe Dave can explain it better then me, though I can provide an example below.
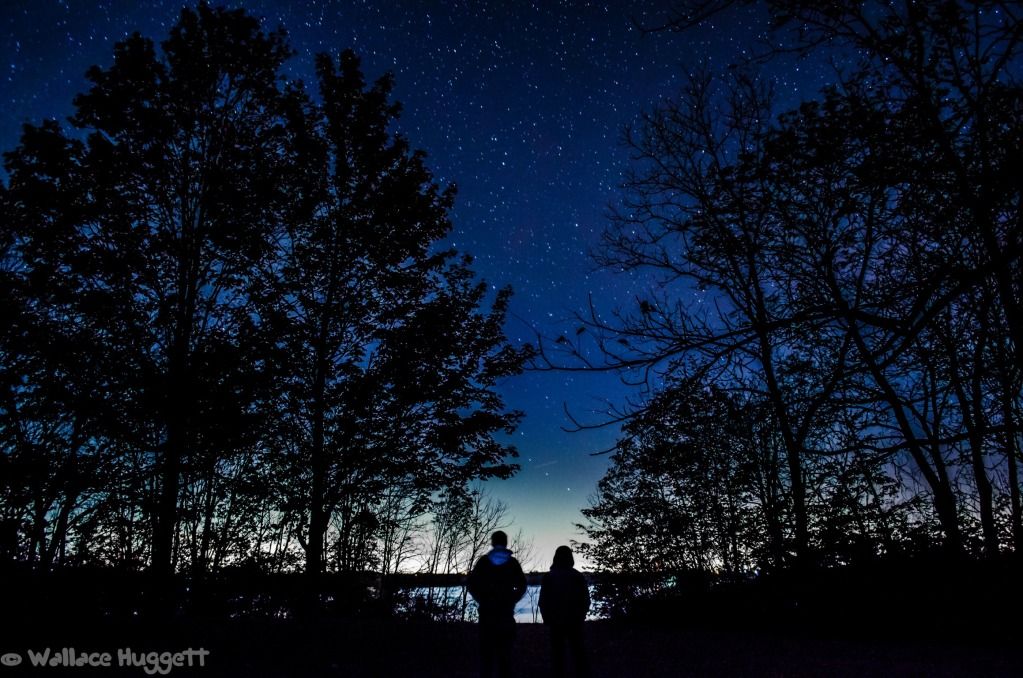
This image was taken at 18mm and 20 seconds on a Dx sensor. (400/18mm=22.22 theoretical max exposure time) Since I fall under 22 seconds, there is no noticeable star streaks. However if I were to zoom in on the picture, simulating a bigger focal length, star steaks become noticeable because your making the stars bigger.
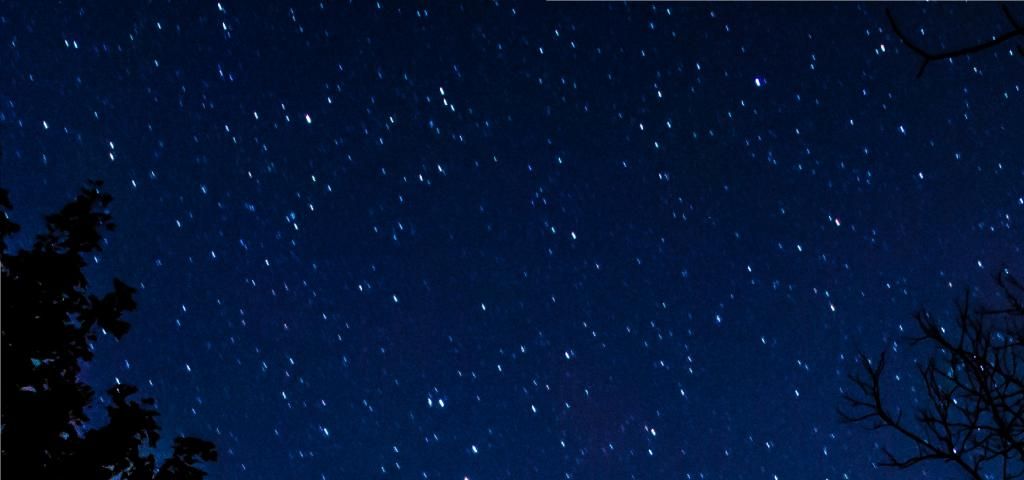
This is the same image above, but I zoomed in on the star field in the middle. See the streaks? The streaks have only become noticeable because of the simulated larger focal length.
-Wahugg
Edit:
Originally when I was doing research on night photography, I kept on seeing a reference to the Rule of 600. The Rule of 600 is the formula (600/focal length = theoretical max exposure time). I found this formula to be inaccurate for me and I later figured it was so inaccurate due to my cameras having crop sensors. So I simply took 600, divided it by the 1.5x crop factor of the Nikon DX sensor, and got 400. Thus the Rule of 600 is for FX, and the Rule of 400 is for DX.

This image was taken at 18mm and 20 seconds on a Dx sensor. (400/18mm=22.22 theoretical max exposure time) Since I fall under 22 seconds, there is no noticeable star streaks. However if I were to zoom in on the picture, simulating a bigger focal length, star steaks become noticeable because your making the stars bigger.

This is the same image above, but I zoomed in on the star field in the middle. See the streaks? The streaks have only become noticeable because of the simulated larger focal length.
-Wahugg
Edit:
Originally when I was doing research on night photography, I kept on seeing a reference to the Rule of 600. The Rule of 600 is the formula (600/focal length = theoretical max exposure time). I found this formula to be inaccurate for me and I later figured it was so inaccurate due to my cameras having crop sensors. So I simply took 600, divided it by the 1.5x crop factor of the Nikon DX sensor, and got 400. Thus the Rule of 600 is for FX, and the Rule of 400 is for DX.
Last edited:
I think Wahugg is right, there's really no difference between the amount of movement of the stars, it's more an apparent movement issue. If you use a wide angle lens the movement is the same as when using a telephoto however you can't see it very well, the stars look like single points but when you zoom in you'll see they've moved just as much as when you used a telephoto.
Fresh out of light room!!
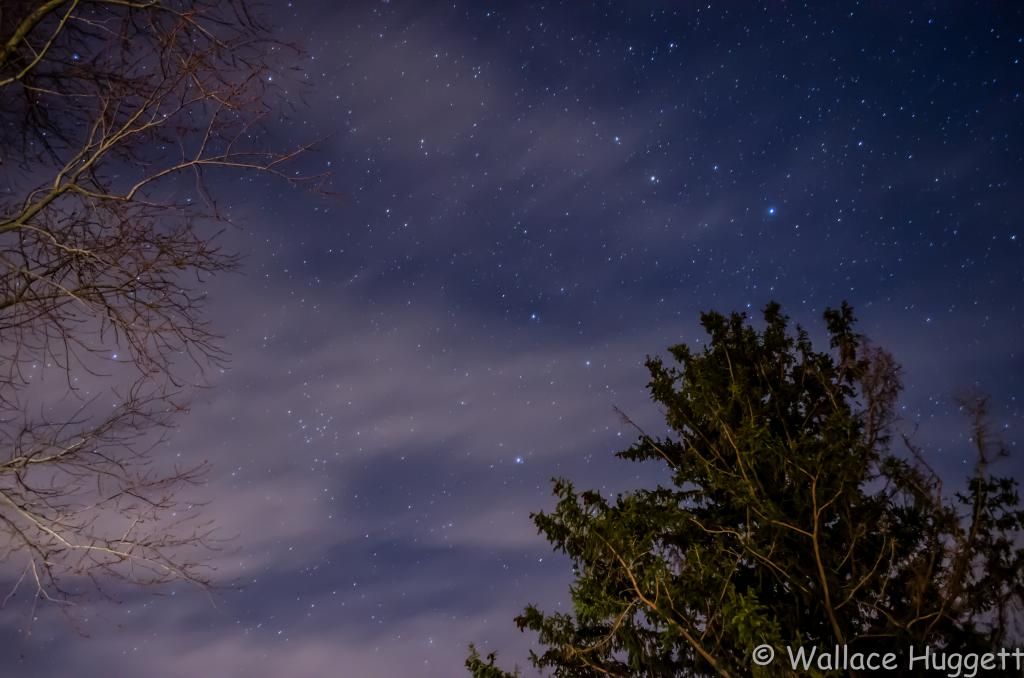
Also Samsonite, while I was taking pictures with the D7000, I set up my D5100 on bulb mode to try and get a star streak photo and this is what I got.
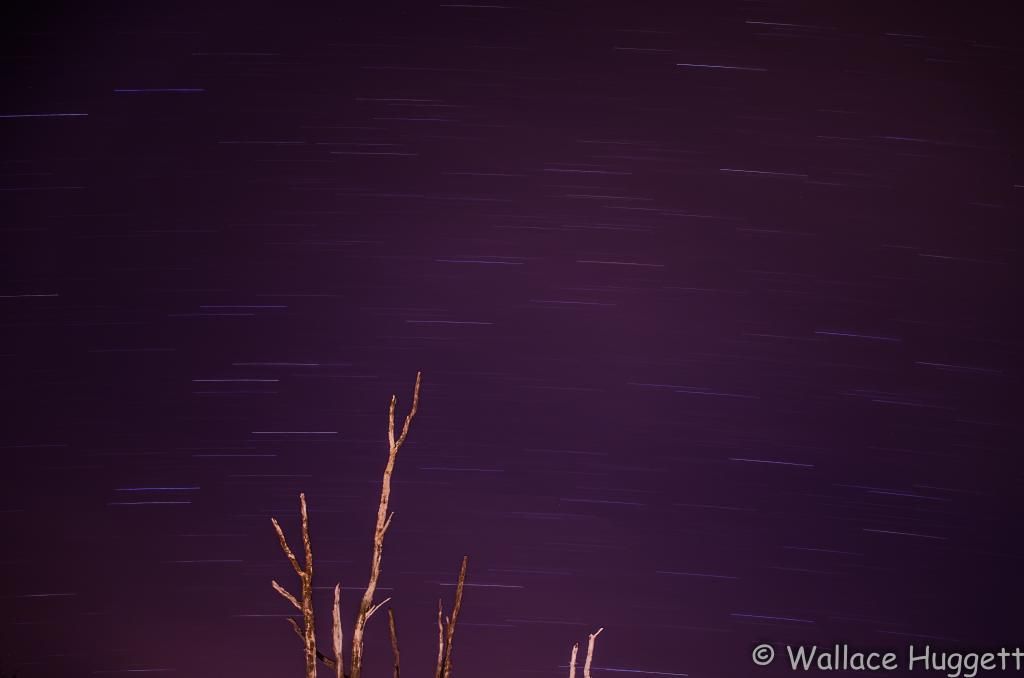
EXIF:
ISO:100
Focal:50
Exposure Time: ~9 minutes or 514 seconds
Aperture: f/4.0
As for after thoughts, I would have bumped the ISO up to 200, and maybe extended the exposure time a minute or two more, but no more. I noticed a few 'hot' pixels due to the super long exposure. I would recommend taking a couple of 10 min exposures and then stacking them to get really long star streaks. This will help to avoid hot pixels and to help you control light pollution/ lighting.
Cheers!
-Wahugg

Also Samsonite, while I was taking pictures with the D7000, I set up my D5100 on bulb mode to try and get a star streak photo and this is what I got.

EXIF:
ISO:100
Focal:50
Exposure Time: ~9 minutes or 514 seconds
Aperture: f/4.0
As for after thoughts, I would have bumped the ISO up to 200, and maybe extended the exposure time a minute or two more, but no more. I noticed a few 'hot' pixels due to the super long exposure. I would recommend taking a couple of 10 min exposures and then stacking them to get really long star streaks. This will help to avoid hot pixels and to help you control light pollution/ lighting.
Cheers!
-Wahugg
Hey guys, I'm new on this forum. Just wanted to say nice write up, and great shots! Thanks for all the info, this coincides with things that I've been learning on my own lately. I got a D5100 for my wife for Christmas, but she has no desire to learn how to use it herself so I'm teaching her as I learn since this is my first real camera as well 
One question: I've been lead to believe that for night shots (at least for the automotive kind, which is what I'm mostly doing) you should try to keep the ISP at no more than 300-400, and I've been shooting at 100 lately, stock 18-55 lens at 25-30 seconds and it's coming out nice and bright. When I did try a higher ISO, like anything over 1000, it came out very grainy and noisy. Am I doing something different than you guys that I'm not catching? I turned of VR and I'm using auto-focus (mostly successful).
Photobucket is compressing the crap out of my pics and making them look horrible, but here is an example of what I'm talking about with a shot of my car.
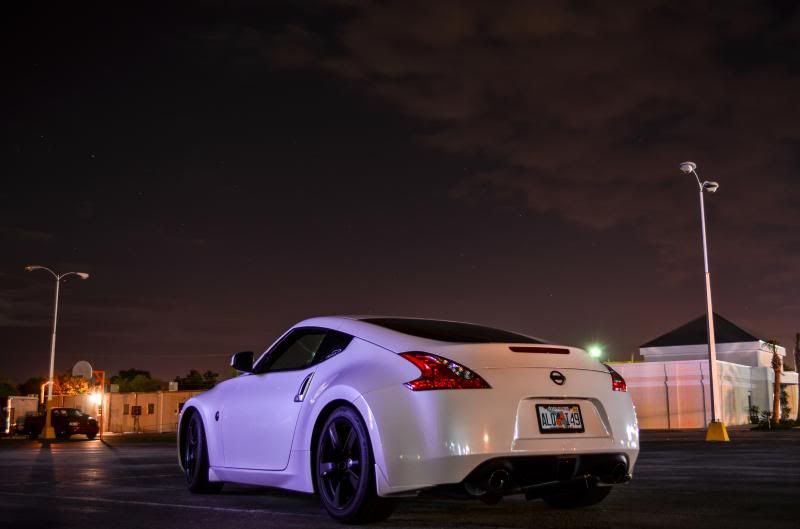
Sent from my iPizzle using magic and new-fangled science stuff
One question: I've been lead to believe that for night shots (at least for the automotive kind, which is what I'm mostly doing) you should try to keep the ISP at no more than 300-400, and I've been shooting at 100 lately, stock 18-55 lens at 25-30 seconds and it's coming out nice and bright. When I did try a higher ISO, like anything over 1000, it came out very grainy and noisy. Am I doing something different than you guys that I'm not catching? I turned of VR and I'm using auto-focus (mostly successful).
Photobucket is compressing the crap out of my pics and making them look horrible, but here is an example of what I'm talking about with a shot of my car.

Sent from my iPizzle using magic and new-fangled science stuff
I was planning on taking 30 second exposures with with 15 seconds intervals for about 30 minutes rather than 1 long exposure to avoid sensor heating and the noise it creates....
Sent from my iPhone using Tapatalk!
I don't think the 15 second interval in between shots would be a good idea. It could cause empty spots on the final picture so the the star streaks might look like mores code.
I personally think the sensor over heating thing is blown out of proportion. For single long exposures, such as 10 minutes or more, then yes a couple of pixels could turn 'hot'. This hot is not temperature hot, but just a term for describing noise. The longer a shot, the more likely noise can become apparent. Most of the time, we see noise as graininess since most shots we take are less then 30 seconds. However when our exposure time exceeds 5, 10, and sometimes even 15 minutes, then a pixel or two can have so much noise, that it will show a completely different color such as red, blue, white, or green. That's a hot pixel. These 'hot' pixels are not apparent on most camera screens or even computer screens, but if you were to zoom in on the picture, then you could see this single red dot, which is just a hot pixel. It won't be there the next picture even if you take it right away. There's no point in waiting 15 seconds for the sensor to cool down, as there is literally nothing to cool down.
-Wahugg
Edit: Just for the hell of it, I put my D5100 on bulb mode for the past 5 minutes and with a laser gun I took the temperature before and after. There was a .12 degree Fahrenheit temperature difference on the sensor from the beginning to the end of the shot. (63.24F to 63.36F) So your sensor is perfectly safe from heat.
And here is a time lapse that I did a while back. The clouds ruined it, but for our purposes it's a great example. 30 second exposures with NO down time in between for 576 pictures. That's almost 288 minutes of exposure! (minus the half a second it takes for the shutter to reset). And with all that sensor activity, there is no visible hot pixels, so your sensor will be safe with no down time in-between shots.
Make sure to watch in HD!!
Last edited:
stock 18-55 lens
Welcome to the site. Funny how car terms spill over to photography
But yeah, there's too much light pollution. There are two lights in that shot alone that are facing the camera.
So maybe 30 second exposures with 5 second intervals? Doesnt the stacking software have a gap filling tool to fill in any gaps between the trails to avoid the 'morse code' ?
To my knowledge, there is no "gap fill tool" however I could be very wrong. 5 seconds is much better then 15 seconds, by why not spring for .5 second interval?
-Wahugg
Welcome to the site. Funny how car terms spill over to photographyAnd nice Z!
But yeah, there's too much light pollution. There are two lights in that shot alone that are facing the camera.
Thanks, I appreciate it! And I'm always looking for constructive criticism and advice on what to do better. I still have a lot to learn.
Here's another shot I took that same night. It was super cloudy out and the moon didn't even come out till about 4am, but I got a few cool shots out of it. No stars though
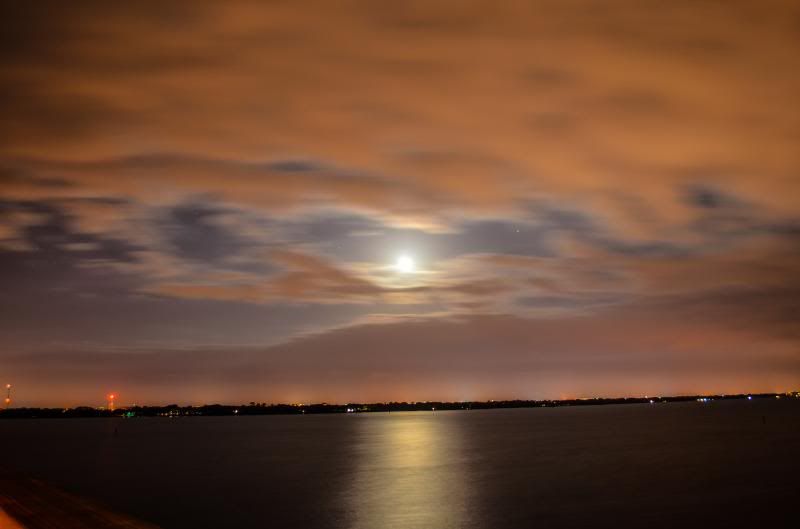
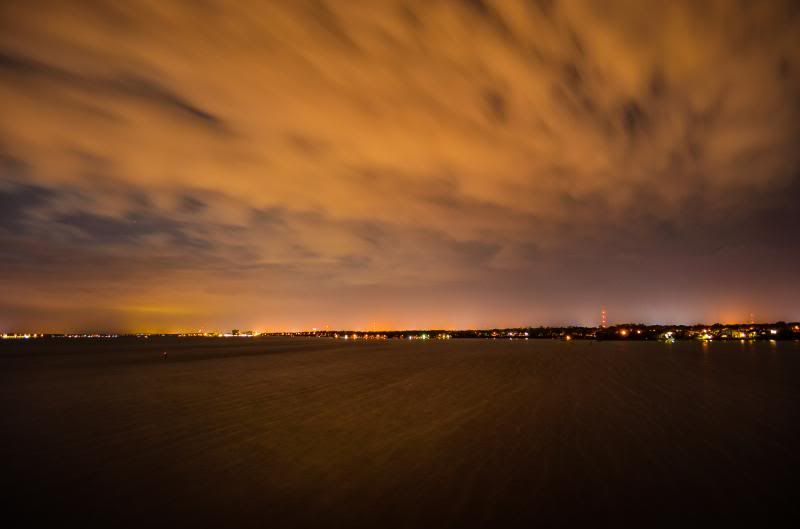
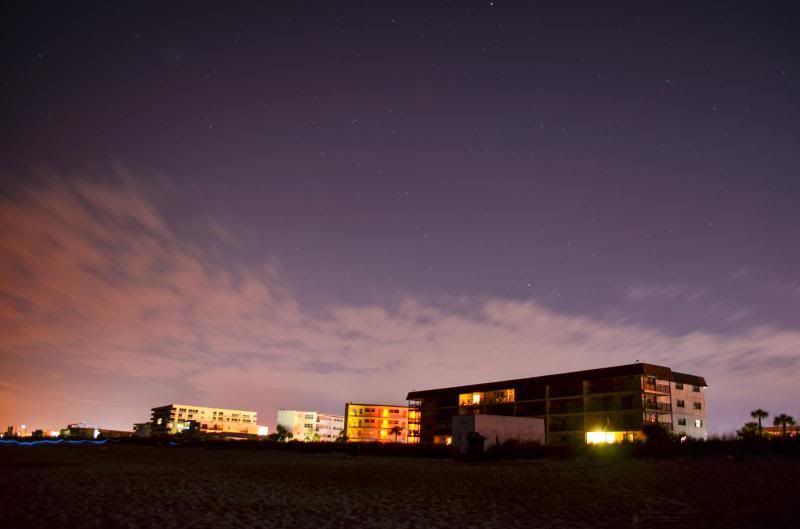
Sent from my iPizzle using magic and new-fangled science stuff
Harry Gage
Senior Member
I tried a night shot using my 35mm 1.8G and got this result. I took this shot in our yard near the Boise Airport, had some light contamination and forgot to set a higher ISO  oops.
oops.
Device: Nikon D7100
Lens: 35mm f/1.8G
Aperture: f/2.8
Shutter Speed: 25s
Exposure Mode: Shutter Priority
Exposure Comp.: 0EV
ISO Sensitivity: Auto (ISO 100)

Device: Nikon D7100
Lens: 35mm f/1.8G
Aperture: f/2.8
Shutter Speed: 25s
Exposure Mode: Shutter Priority
Exposure Comp.: 0EV
ISO Sensitivity: Auto (ISO 100)

mapman
Senior Member
Alright, I've been scouring the net and reading my manual, but for whatever reason, the exposure explanations and exact set up are escaping me.
I have a d5100, and I'd like to take a few star shots, not with lines, just nice night time shots that show the stars clearly. I understand all the other settings explanations except the exposure part.
So I guess my question, or questions would be is there a way to do this with the camera itself, or do I need an external controller? If I can indeed do it with the camera itself, can someone explain the settings in better detail, or point to an explanation that spells it out in fine detail.
OH and I was wondering which would be better to use my 18-55mm kit lens, or my 35 mm 1.8 prime lens?
Thanks a ton...
You're in luck. I've been corresponding with a photographer in Malaysia who's been wondering the same thing and just minutes ago I finished an email detailing star photography. So I'm going to cut and paste it here. The only thing missing is how to get a 20 to 30 sec exposure. It is done using Manual and then adjusting the shutter speed. Anything beyond 30 sec will require a remote, but with star photos, you can't go longer than 25 secs if you want the stars to remain sharp round spots. 30 secs and longer the stars become little lines due to the earth's movements.
----------------
The faster and wider the lens is the better. So I would opt for the 14mm lens. I understand the 10mm is wider but the slow f is not so good. When you’re taking photos at night you do not have access to the auto-focus function any longer. Therefore during the day take that lens out and focus it on clouds or a distant mountain range, basically get the lens to focus on the farthest subjects you can and then see exactly where the lens is relative to the measurements on the lens itself. Most lenses have an "infinity” setting but the focus ring does not stop at infinity but instead go past that point. So once you know where the perfect focus is, take a piece of tape or make a strong mental note of exactly where the setting is. You will need to use this point when shooting stars.
As for ISO and exposure times. I’ve found for my D800 that on very dark evenings without any moonlight my best combination is ISO 2500 and exposure time of 20 secs to 25 secs (depending upon what part of the Milky Way I’m shooting). But every camera is different, since this is the first time you’ve used your camera for star photography, I suggest you do a quick study. Set your ISO up to 4000 (I would avoid using anything higher, it’s just too noisy) and take a series of shots starting at 8 sec up to 25 secs. This will give you an idea how sensitive your lens/camera is for starlight and it will also give you an opportunity to check your focus. Then repeat this study at 3200, 2500, 2000, and 1600. I know it sounds like a lot but in the future it will help you immeasurably. Unfortunately, you cannot really get an idea of which of these exposures/ISO’s work best by just using your camera’s LCD, you'll have to look at them on the computer. So to make this first trip still successful, use the settings I use just and then next time you go out you can use the settings you have determined to be the best. Again, I use ISO 2500, t = 20 sec, f-2.8.
Also, be sure when photographing them to allow for at least a 20% overlap between images you're planning on stitching together into a panorama. Be sure too that your tripod is a sturdy one and that you know how to use it with your eyes closed. Oh, that reminds me, you should be able to find each and every button on your camera with your eyes closed. On your downtime, learn to find all your buttons without looking at them. It will help you a lot when you’re out in the dark and even though you'll have a flashlight (or “torch” as the Brit’s call them) it will help you to have them all memorized. Also, keep checking your lens for proper focus. Moving the camera around on the tripod can easily knock your lens out of focus so constantly check the lens before you shoot.
And another thing, I like to use the High ISO NR and Long Exposure NR settings on my camera. Some people will tell you it’s a waste of time and maybe they're right, I don't know, I've tried it both ways and the difference is very slight but noticeable but you might want to experiment and see which works best for you. The downside is that using these settings will double the time it takes to go from one shot to another. For instance, if you shoot a 20 sec exposure, your camera will then do a second 20 sec exposure with the shutter closed and then use that to cancel out the noise. What this means for you is that you'll be locked out of the camera for an extra 20 secs after every 20 sec exposure. If this creates a problem for you in the field, feel free to turn both those settings off. I’ve done it both ways and find it’s not really a big deal either way, so you'll have to choose for yourself.
Mr.Smith
Senior Member
Meteor shower here last night. managed to catch a couple. Did not think I had got any until the pics went into light room.

star by Mr K.Smith, on Flickr[

star-2 by Mr K.Smith, on Flickr

star-3 by Mr K.Smith, on Flickr
ISO at 800 and a 25sec exposure.

star by Mr K.Smith, on Flickr[

star-2 by Mr K.Smith, on Flickr

star-3 by Mr K.Smith, on Flickr
ISO at 800 and a 25sec exposure.
Last edited:
