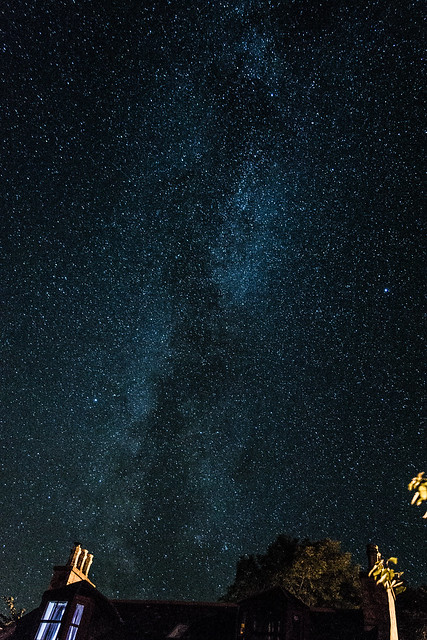
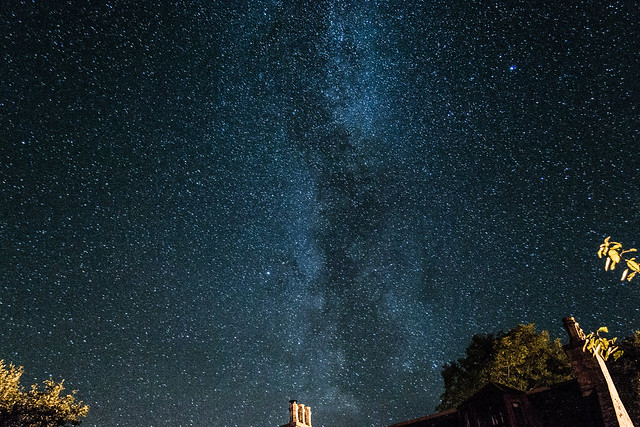
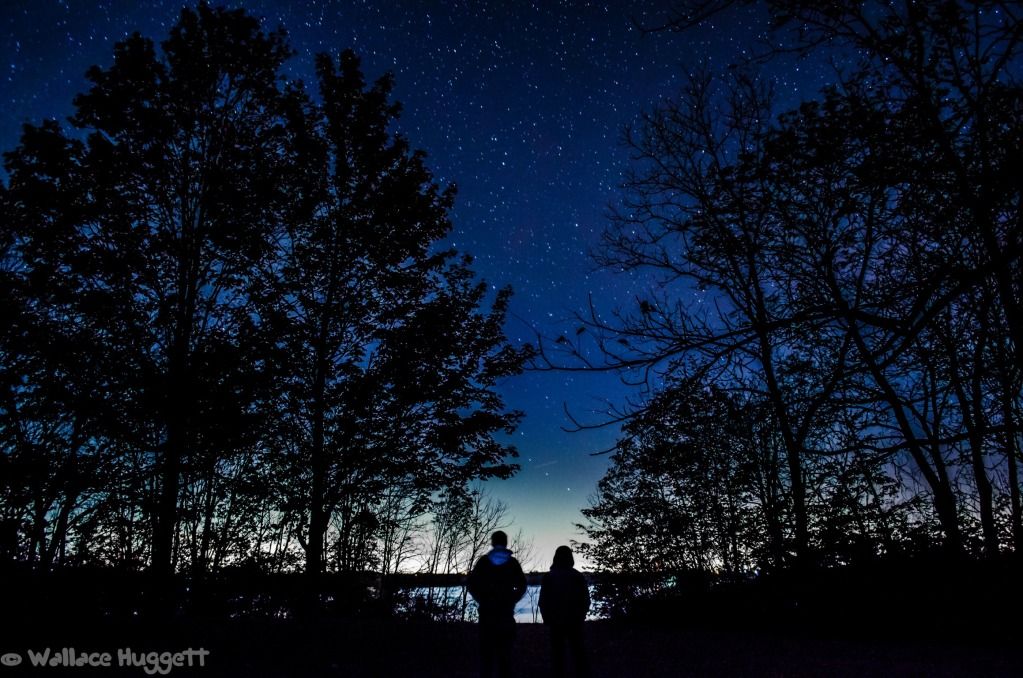
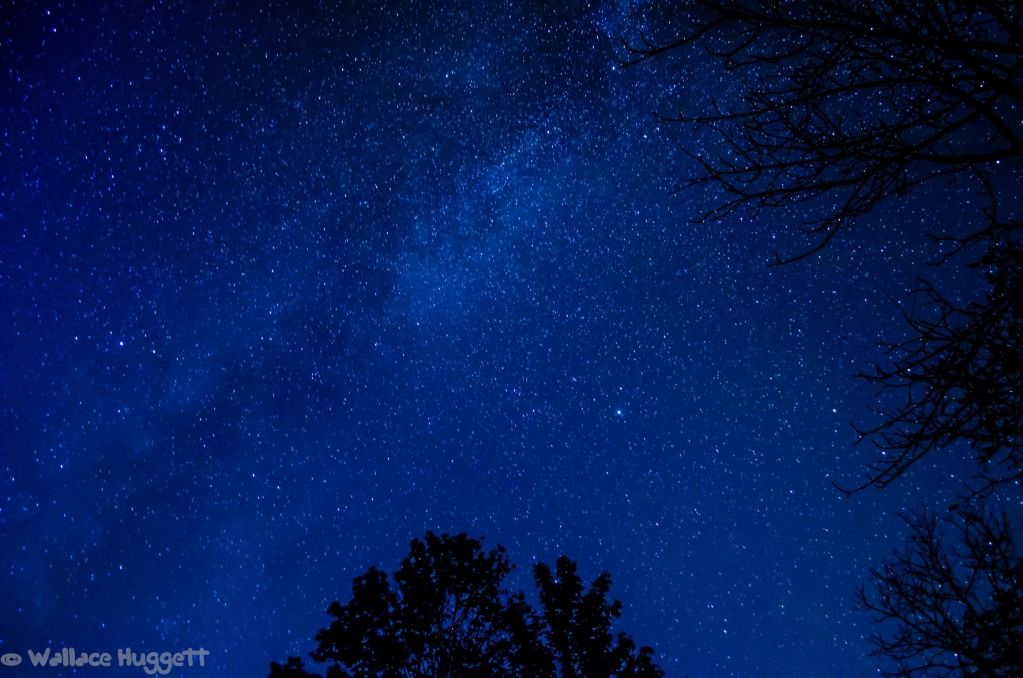
Hello All!
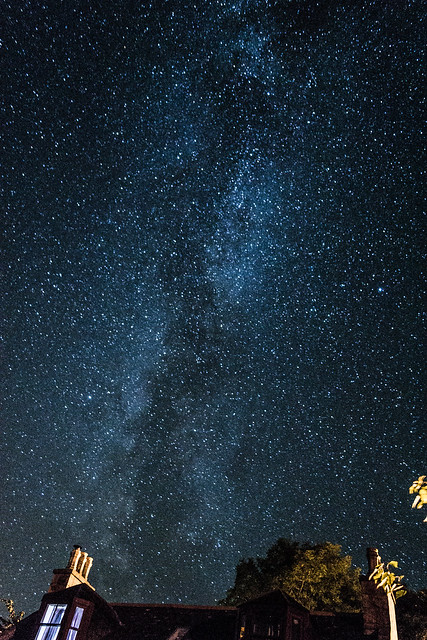
I may be new to this forum, but I am not all that new to photography, specifically night time and star photography. I absolutely love the night sky and sharing it with others. So if star hunting is your game, pull up a chair and enjoy the read.
Before we head into what we’ll need and how to take photos, it’s important to understand one thing. Night time photography is extremely frustrating. More than often, photos will not turn out how you want, and for first few MONTHS you will probably get confused with the settings before everything is strait in your head. We’re pushing the outer limits of cameras and lens as well as editing software. So please don’t get too frustrated with this type of photography, it’ll be worth it all in the end. I promise.
Here is a quick list on what I recommend to have if star shooting is something you’re going to try. All of them will make life a lot easier in the end, however only a few things are actually required.
Required:
Weather
So what kind of weather are we looking for? For starters a nice clear sky is ideal, meaning no clouds or fog should be out. Low humidity is also preferred. Humidity can make the stars look hazy or even cause a soft focus effect which results in a non-vibrant picture. Winter months are most ideal for night time shooting as they offer the longer nights, low humidity, and the skies are usually clear. A great app for both the iPhone and Android is The Weather Channel. It’ll show you cloud cover and the forecast.
(http://www.weather.com/services/mobilesplash.html)
Light Pollution
Light pollution is probably the hardest thing to overcome when shooting at night. People don’t realize how big of a problem lights can cause in a frame when shooting at night. First, where does light pollution come from? Obviously light sources, but the answer is not detailed enough. Flashlights, headlights, street lights, strobe lights on radio towers, and cities are all types of light pollution. Even the moon is a source of light pollution, and it can often outshine many stars and ruin what would otherwise have been a great shot. Well a couple of those sources such as headlights and radio towers are pretty easy to avoid, but others such as the moon and glowing horizons are much harder to get rid of. Well how do you get rid of light domes? The answer is to travel away from it. Sometimes it only requires a quick 15-20 mile trip in the opposite direction. Other times it could be a much bigger trip of 30 to 60 miles. It is also possible that all of the horizons are polluted by light domes so no matter which way you travel, you still have a glow. If this is the case then I recommend you look at a light pollution map and plan a big trip out to a good location and spend some time there taking photos. A great app for the iPhone that shows light pollution is called “Dark Sky Finder”.
(http://finddarkskies.com/)
*Note: The moon makes fewer stars visible, but at the same time it lights up the landscape which can really bring out the natural colors and landscape into you photo. Try to shoot for a time period when the moon isn’t too bright for best results when incorporating landscape.
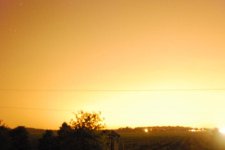
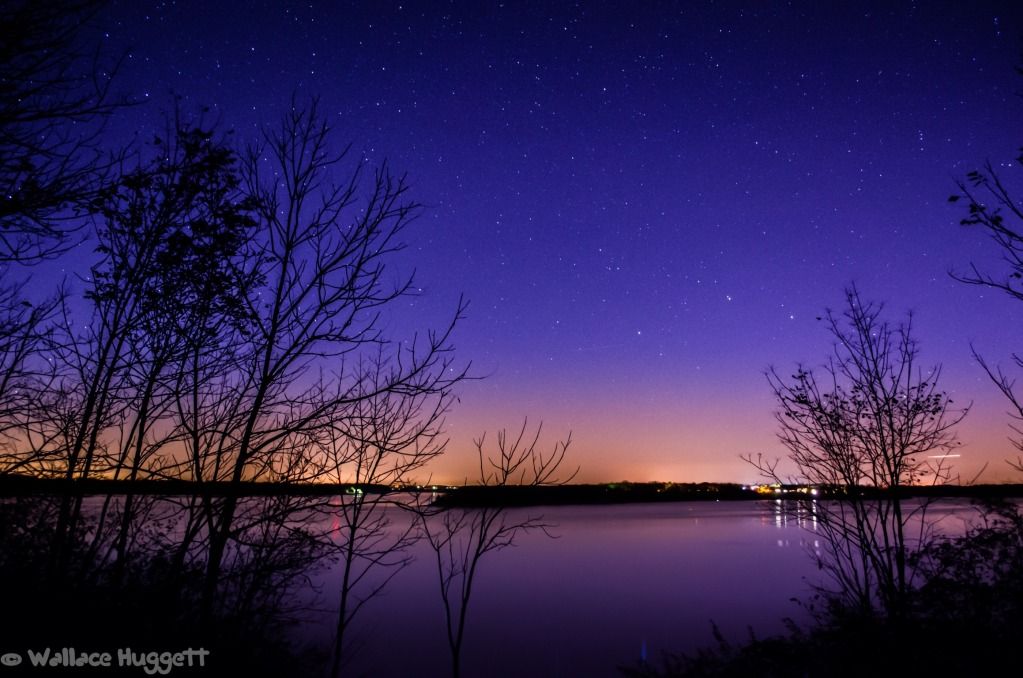
This was taken at 0100 facing Columbus, my location being 15 miles away. See what I mean when I said cities throw off light pollution.... You can even see how big of a problem simple car and street lights can be so it is CRUCIAL to get to a place where there is none of this.
Taking the Shots
Now that you have found a place without light pollution and where the stars are shining, it is time set up your rig. Make sure the tripod will not move and is on solid ground. Any kind of vibration will most likely make the photo blurry to some degree, and take away from the detail. Also it is very important to make sure that the camera is level.
Got that? Great! Turn your camera on and move that dial to M for manual mode. This is where all the nitty gritty starts to happen. I will break down what each setting does after the list. I am not familiar with all of the cameras out there so I am just going to post the general settings you will be using to take the shot. It is up to you to read your manual and find out how to put all the settings in.
Settings:
-ISO: As HIGH as it can go. In my case Hi 1, which is Extended ISO 3200 on the D60
-Aperture: As WIDE as it will open. In my case 3.5f
-Exposure time: 30 seconds
-Turn OFF Vibration Reduction Systems
-Turn ON a 2 second time delay
-Turn ON delay shutter release (not all cameras have this feature)
-Turn OFF auto focus and focus it manually
-Make your focal point as SMALL as possible
-Turn OFF auto white balance (If your shooting in RAW this won't matter, but if you’re using JPEG turn it from auto to florescent; sub-setting 4 for now)
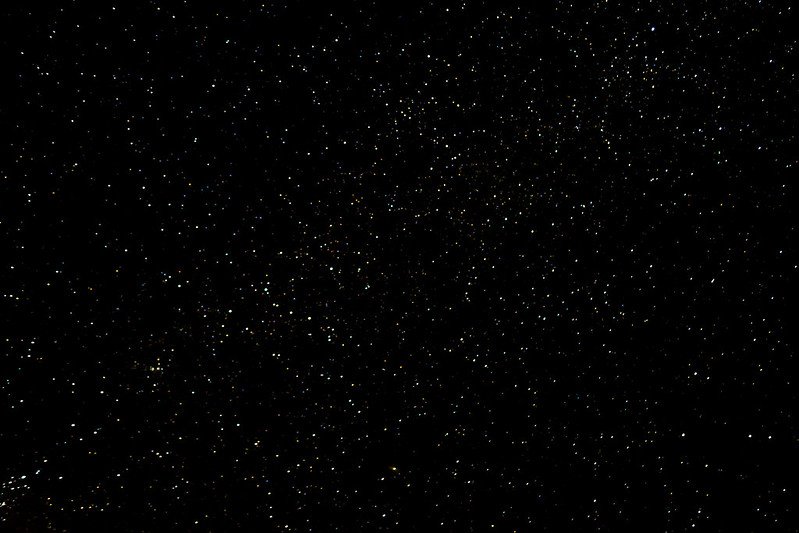
Got that put in? Great! Now let your camera take a picture. After the first picture, turn and adjust the tripod to a different field of view and repeat. Do this to your heart’s content to see what is out there in the sky. These photos will not be your good photos. They are just the photos you use to find what is out in the night sky for your camera to see. Most likely they are going to be grainy, over exposed, and maybe even washed out. Near the end of this article we'll talk more about taking pictures of quality once you have a shot set up.
If you are having a hard time finding the milky way or certain stars, a great app for the iPhone is Star Walk. (http://vitotechnology.com/star-walk.html)
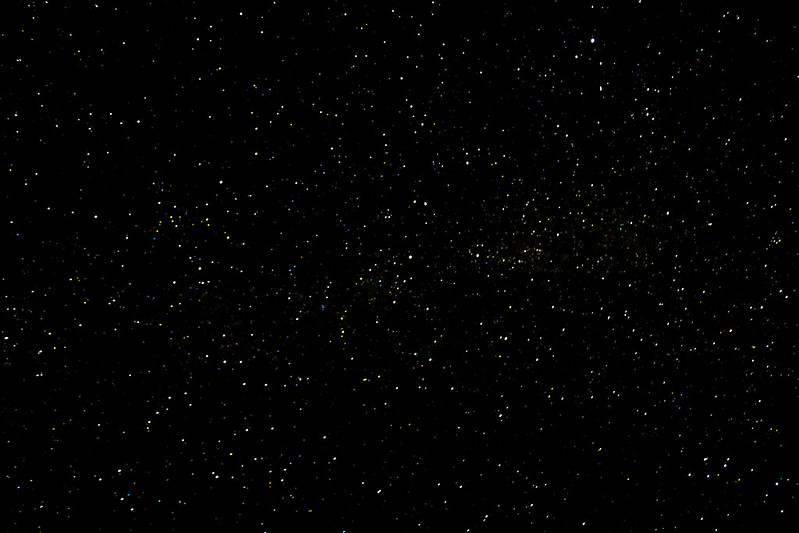
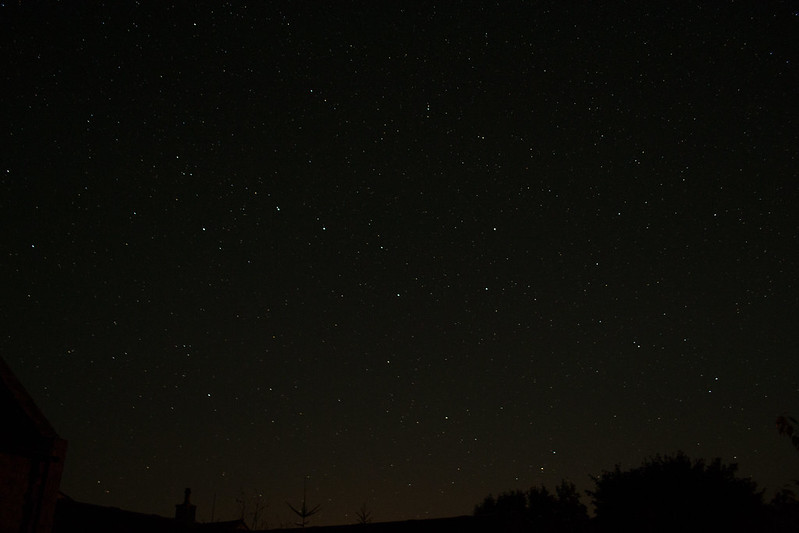
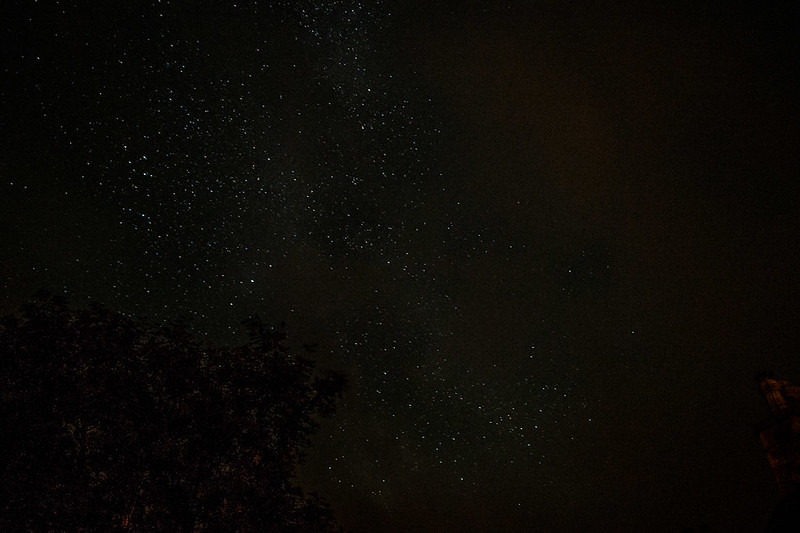
^Too short of an exposure time---------------------------------------------------------------------
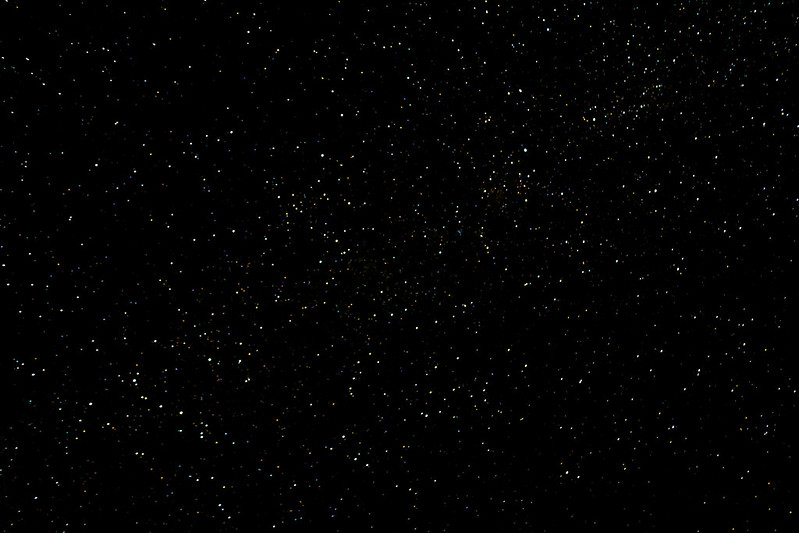
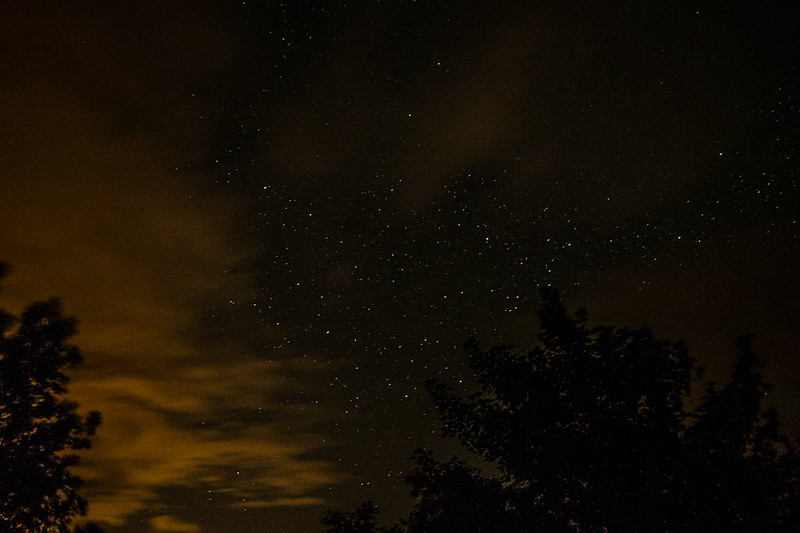
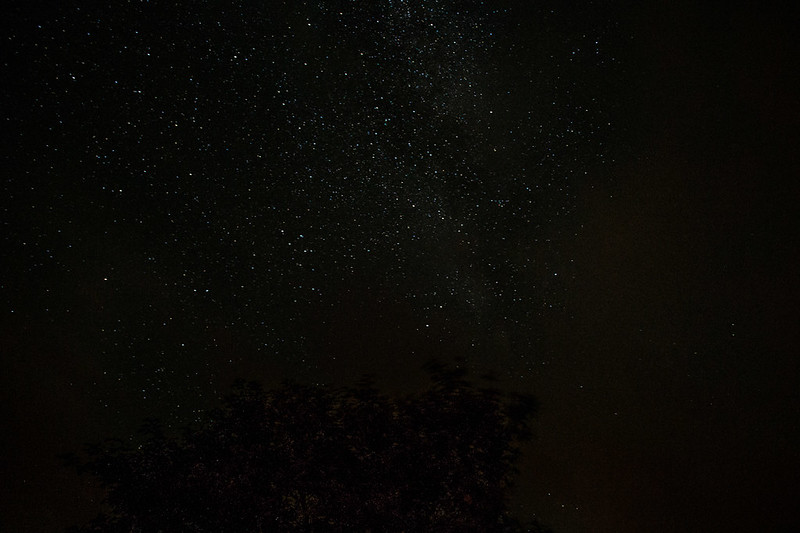
^Wrong whitebalance settings and light pollution is present-----------------------------
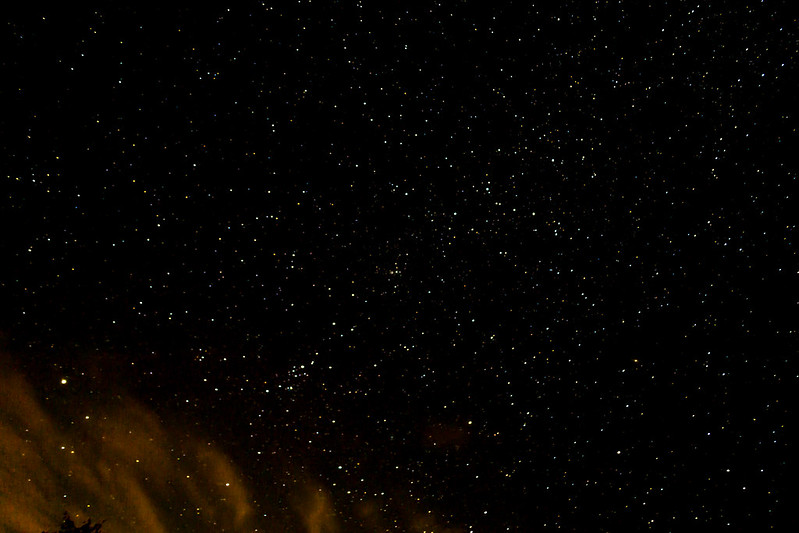
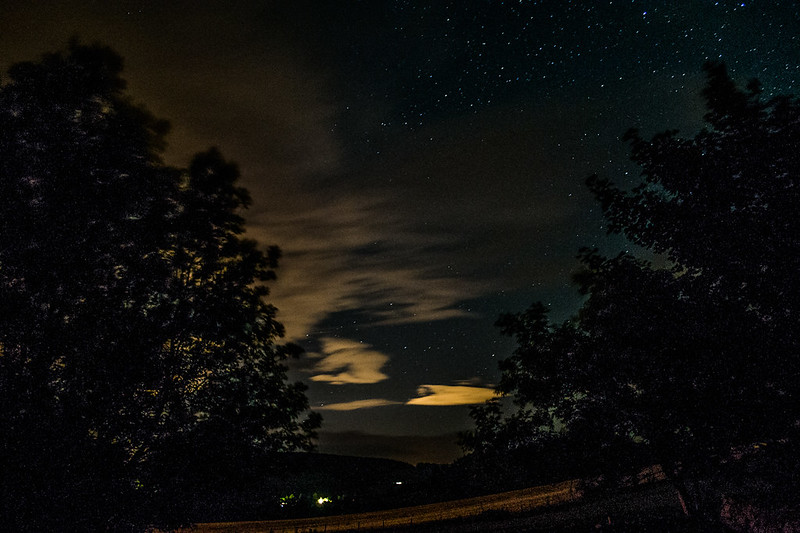
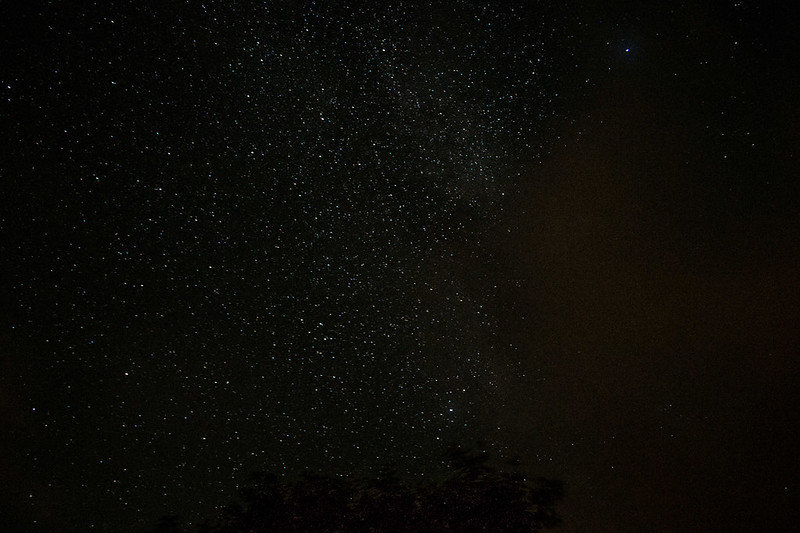
^Too much light pollution and too high of an ISO------------------------
I may be new to this forum, but I am not all that new to photography, specifically night time and star photography. I absolutely love the night sky and sharing it with others. So if star hunting is your game, pull up a chair and enjoy the read.
Before we head into what we’ll need and how to take photos, it’s important to understand one thing. Night time photography is extremely frustrating. More than often, photos will not turn out how you want, and for first few MONTHS you will probably get confused with the settings before everything is strait in your head. We’re pushing the outer limits of cameras and lens as well as editing software. So please don’t get too frustrated with this type of photography, it’ll be worth it all in the end. I promise.
Here is a quick list on what I recommend to have if star shooting is something you’re going to try. All of them will make life a lot easier in the end, however only a few things are actually required.
Required:
- Any DSLR: Literally any model will do. Almost all pictures in this article were taken with a Nikon D60. However, a better sensor in a higher end camera will yield better initial results. But overall quality will not be hugely different between a lesser camera and a higher end camera after a lot of editing in Lightroom or Photoshop.
- A lens such as a simple kit lens will work, as this article utilizes the standard Nikon kit lens. However if you have access to a lens with a very low focal length, a low aperture, and a manual focus ring, then go for that one instead.
- A reliable tripod. A heavier one is preferable because it helps reduce vibrations and is sturdier.
- Smart Phone with a star, night sky, weather, and light pollution maps. Any android or an iPhone will do
- Star chart and compass in place of map.
- A good red colored flashlight to set things up. A head mounted one is great as it free's up both your hands, and the red light doesn’t affect your night vision.
- A note book to take notes and right down settings to keep track of what works and what doesn’t.
- A good friend can offer ideas, good conversation, and extra man power in situations. Being alone at one or two A.M. can be dangerous at times, so be careful. I'm not saying all people you might encounter are bad, but I've been in a situation where I would have been in serious trouble if my buddy hadn't come back from the out house.
- A post editing software like Adobe Light Room can dramatically make your photos stick out.
Weather
So what kind of weather are we looking for? For starters a nice clear sky is ideal, meaning no clouds or fog should be out. Low humidity is also preferred. Humidity can make the stars look hazy or even cause a soft focus effect which results in a non-vibrant picture. Winter months are most ideal for night time shooting as they offer the longer nights, low humidity, and the skies are usually clear. A great app for both the iPhone and Android is The Weather Channel. It’ll show you cloud cover and the forecast.
(http://www.weather.com/services/mobilesplash.html)
Light Pollution
Light pollution is probably the hardest thing to overcome when shooting at night. People don’t realize how big of a problem lights can cause in a frame when shooting at night. First, where does light pollution come from? Obviously light sources, but the answer is not detailed enough. Flashlights, headlights, street lights, strobe lights on radio towers, and cities are all types of light pollution. Even the moon is a source of light pollution, and it can often outshine many stars and ruin what would otherwise have been a great shot. Well a couple of those sources such as headlights and radio towers are pretty easy to avoid, but others such as the moon and glowing horizons are much harder to get rid of. Well how do you get rid of light domes? The answer is to travel away from it. Sometimes it only requires a quick 15-20 mile trip in the opposite direction. Other times it could be a much bigger trip of 30 to 60 miles. It is also possible that all of the horizons are polluted by light domes so no matter which way you travel, you still have a glow. If this is the case then I recommend you look at a light pollution map and plan a big trip out to a good location and spend some time there taking photos. A great app for the iPhone that shows light pollution is called “Dark Sky Finder”.
(http://finddarkskies.com/)
*Note: The moon makes fewer stars visible, but at the same time it lights up the landscape which can really bring out the natural colors and landscape into you photo. Try to shoot for a time period when the moon isn’t too bright for best results when incorporating landscape.
This was taken at 0100 facing Columbus, my location being 15 miles away. See what I mean when I said cities throw off light pollution.... You can even see how big of a problem simple car and street lights can be so it is CRUCIAL to get to a place where there is none of this.
Taking the Shots
Now that you have found a place without light pollution and where the stars are shining, it is time set up your rig. Make sure the tripod will not move and is on solid ground. Any kind of vibration will most likely make the photo blurry to some degree, and take away from the detail. Also it is very important to make sure that the camera is level.
Got that? Great! Turn your camera on and move that dial to M for manual mode. This is where all the nitty gritty starts to happen. I will break down what each setting does after the list. I am not familiar with all of the cameras out there so I am just going to post the general settings you will be using to take the shot. It is up to you to read your manual and find out how to put all the settings in.
Settings:
-ISO: As HIGH as it can go. In my case Hi 1, which is Extended ISO 3200 on the D60
-Aperture: As WIDE as it will open. In my case 3.5f
-Exposure time: 30 seconds
-Turn OFF Vibration Reduction Systems
-Turn ON a 2 second time delay
-Turn ON delay shutter release (not all cameras have this feature)
-Turn OFF auto focus and focus it manually
-Make your focal point as SMALL as possible
-Turn OFF auto white balance (If your shooting in RAW this won't matter, but if you’re using JPEG turn it from auto to florescent; sub-setting 4 for now)
Got that put in? Great! Now let your camera take a picture. After the first picture, turn and adjust the tripod to a different field of view and repeat. Do this to your heart’s content to see what is out there in the sky. These photos will not be your good photos. They are just the photos you use to find what is out in the night sky for your camera to see. Most likely they are going to be grainy, over exposed, and maybe even washed out. Near the end of this article we'll talk more about taking pictures of quality once you have a shot set up.
If you are having a hard time finding the milky way or certain stars, a great app for the iPhone is Star Walk. (http://vitotechnology.com/star-walk.html)
^Too short of an exposure time---------------------------------------------------------------------
^Wrong whitebalance settings and light pollution is present-----------------------------
^Too much light pollution and too high of an ISO------------------------
Attachments
Last edited:

