You are using an out of date browser. It may not display this or other websites correctly.
You should upgrade or use an alternative browser.
You should upgrade or use an alternative browser.
Post your 'before' and 'after' pictures
- Thread starter Felisek
- Start date
Bourbon Neat
Senior Member
Nice -- Loch Ness Goose
Michael J.
Senior Member
My neighbors Motel
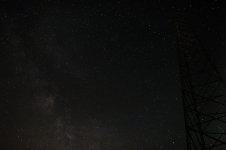
Before

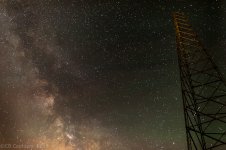
After

The challenging for me was to get rid of the distortion and some power lines. After that I just pp to my personal taste
Before
After
The challenging for me was to get rid of the distortion and some power lines. After that I just pp to my personal taste
Don't put yourself down, the after PP shots look very good, practice makes perfect as the saying goes.
I think they all are great shots by the way.
Thank you very much...
PS is a beast with a large learning curve... I keep learning what I need at the moment to kind of make it bite sized for me... This was done using content fill. I need to learn how to make the edges of the fill area blend in better. Anybody know how?
Thanks again for the compliments.
I wonder if a polarizing filter would have helped control the glare coming off the rink? No. 6 is my favorite, though
I have a circular PF for the wide angle... but have been reluctant to use it because it's got the different shades and I don't want the picture to have different shading throughout the shot (at least I have heard that can happen). Maybe I should get a regular PF.
Thank you very much...
PS is a beast with a large learning curve... I keep learning what I need at the moment to kind of make it bite sized for me... This was done using content fill. I need to learn how to make the edges of the fill area blend in better. Anybody know how?
Thanks again for the compliments.
I find this guy to be very useful but his style might not suit everyone. Here is a youtube link to Part 1 of a three part quick start guide to Photoshop.
https://www.youtube.com/watch?v=ryOgl4EDgn8
It got me started.
To answer your question about how to make edges of a fill blend together better then I would use the healing brush tool with a soft edge brush and select areas to copy from.
Or you could also use the blur tool again with a soft edge brush to blur over the joins a little. The trick is to set the opacity to a low number and build up the effect.
Last edited:
I find this guy to be very useful but his style might not suit everyone. Here is a youtube link to Part 1 of a three part quick start guide to Photoshop.
https://www.youtube.com/watch?v=ryOgl4EDgn8
It got me started.
To answer your question about how to make edges of a fill blend together better then I would use the healing brush tool with a soft edge brush and select areas to copy from.
Or you could also use the blur tool again with a soft edge brush to blur over the joins a little. The trick is to set the opacity to a low number and build up the effect.
Thanks! I will give all of that a try and see what works best... I'll check out the vids too... So many tutorials and sooooooo little time! lol
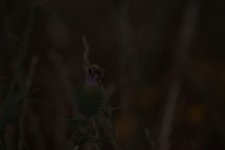
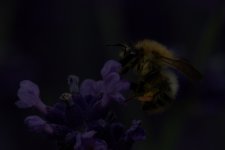
I'm trying another approach to get rid of background noise.
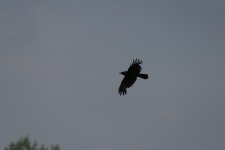
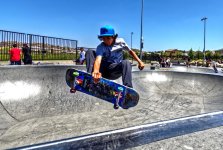
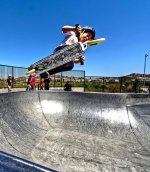
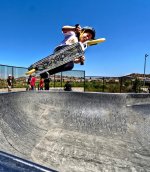
This is the shot before final sharpening:
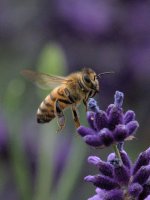
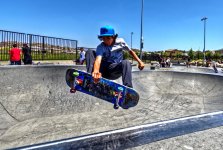
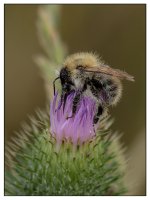
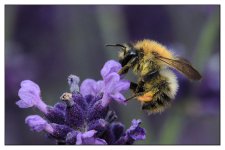
After sharpening I end up with quite some noise.
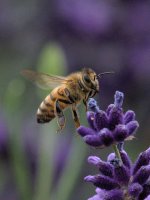
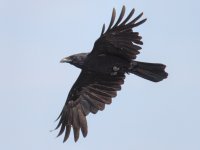
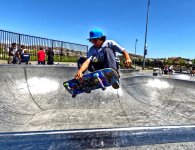
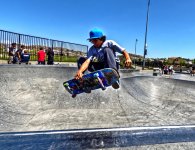
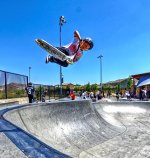
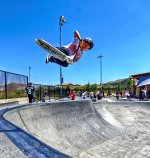
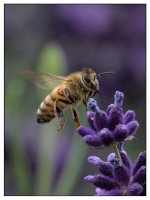
What I do is duplicate the layer and then start working with the blur brush, using different hardness, flow and opacity until the noise is gone. Then blend in with the previous layer around 85% and we're done. This is a quick one; the more time I invest, the better the result.
This is the shot before final sharpening:

After sharpening I end up with quite some noise.

What I do is duplicate the layer and then start working with the blur brush, using different hardness, flow and opacity until the noise is gone. Then blend in with the previous layer around 85% and we're done. This is a quick one; the more time I invest, the better the result.


