
LucVogels
New member
Dear Members,
I have been an enthusiastic marine aquarium hobbyist for over twenty years and enjoy sharing photos of my aquarium through the appropriate channels.
For many years, I photographed with a Nikon D5500.
Over the past three years, however, I found myself using that camera less and less, relying mainly on my smartphone instead.
Recently, I decided to take photography seriously again and purchased a Nikon Z5II along with two lenses: the 105mm Macro f/2.8 and the 24-120mm f/4.
To be honest, I have noticed that I have lost some of my routine over the years.
In addition, my new camera offers many features that I still need to learn how to use effectively.
To properly compare the effects of different settings, I repeatedly take overview photographs of my aquarium from the same position and under consistent ambient and aquarium lighting conditions.
By now, I have taken more than 400 photos and gathered a number of initial observations.
I would appreciate hearing whether my conclusions make sense and whether there are additional ways to improve the photo directly in-camera, without post-processing.
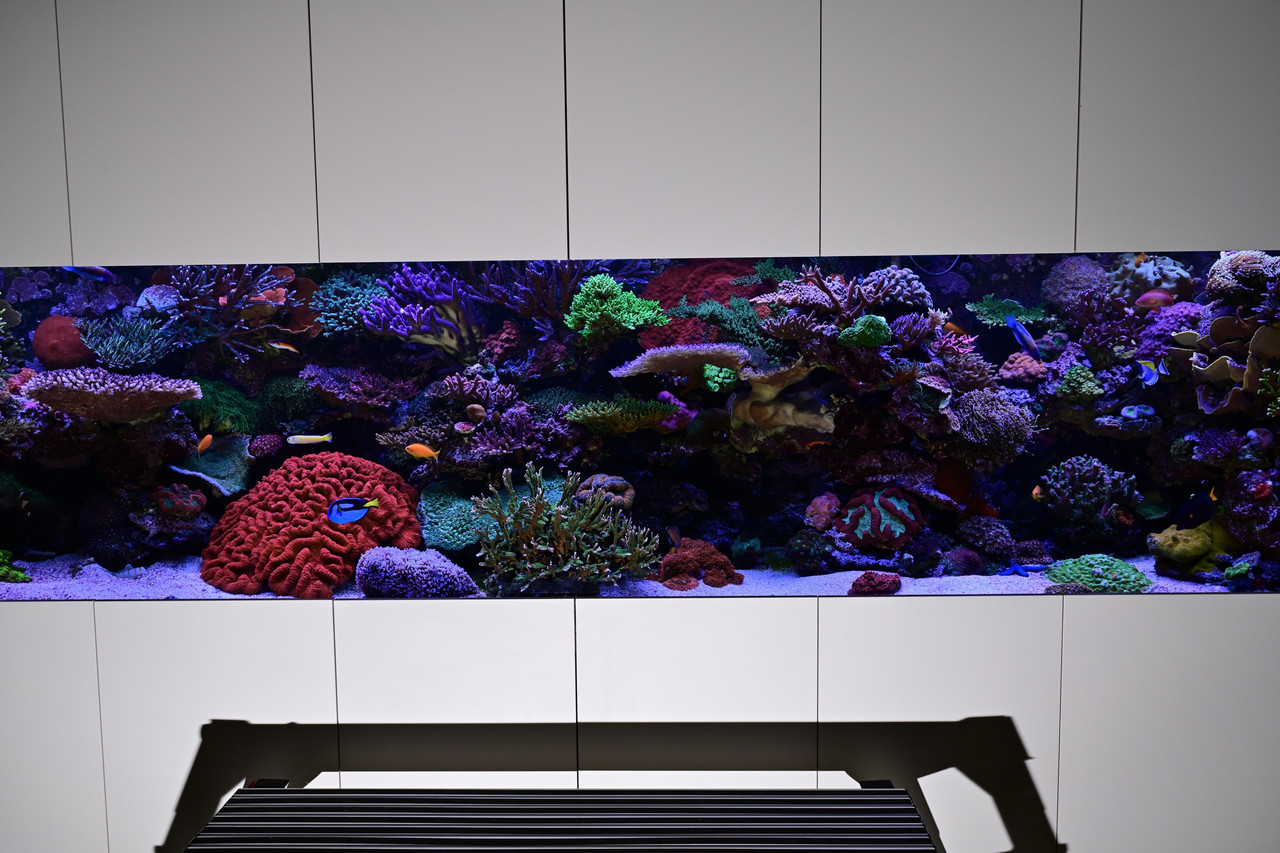
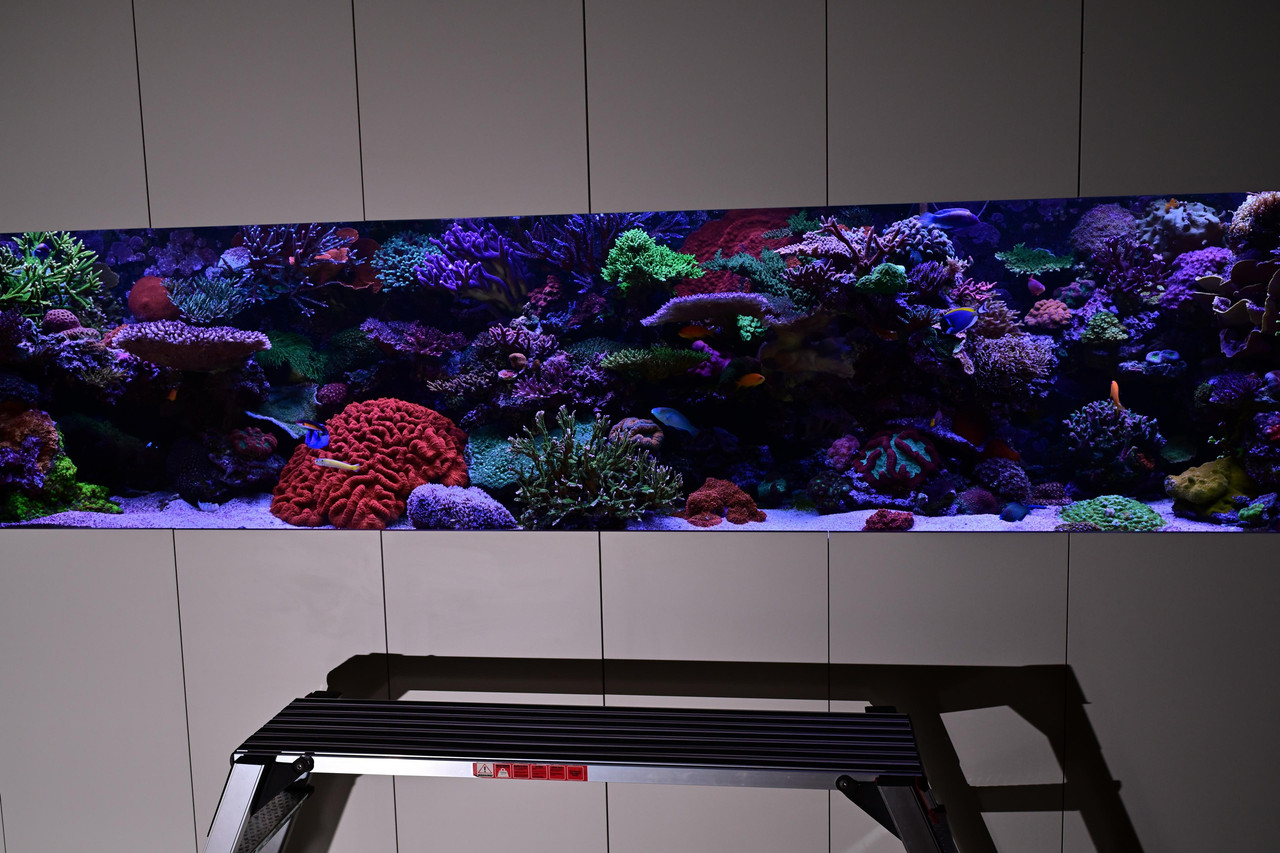
I will start with two photos and then explain how I arrived at these results.
I am not yet satisfied and suspect there is still more performance to be gained from the camera.
At the moment, I am shooting with the 24-120mm f/4 at 24mm. I use Manual (M) mode for maximum control. ISO is set to Auto ISO, while I adjust the other settings manually.
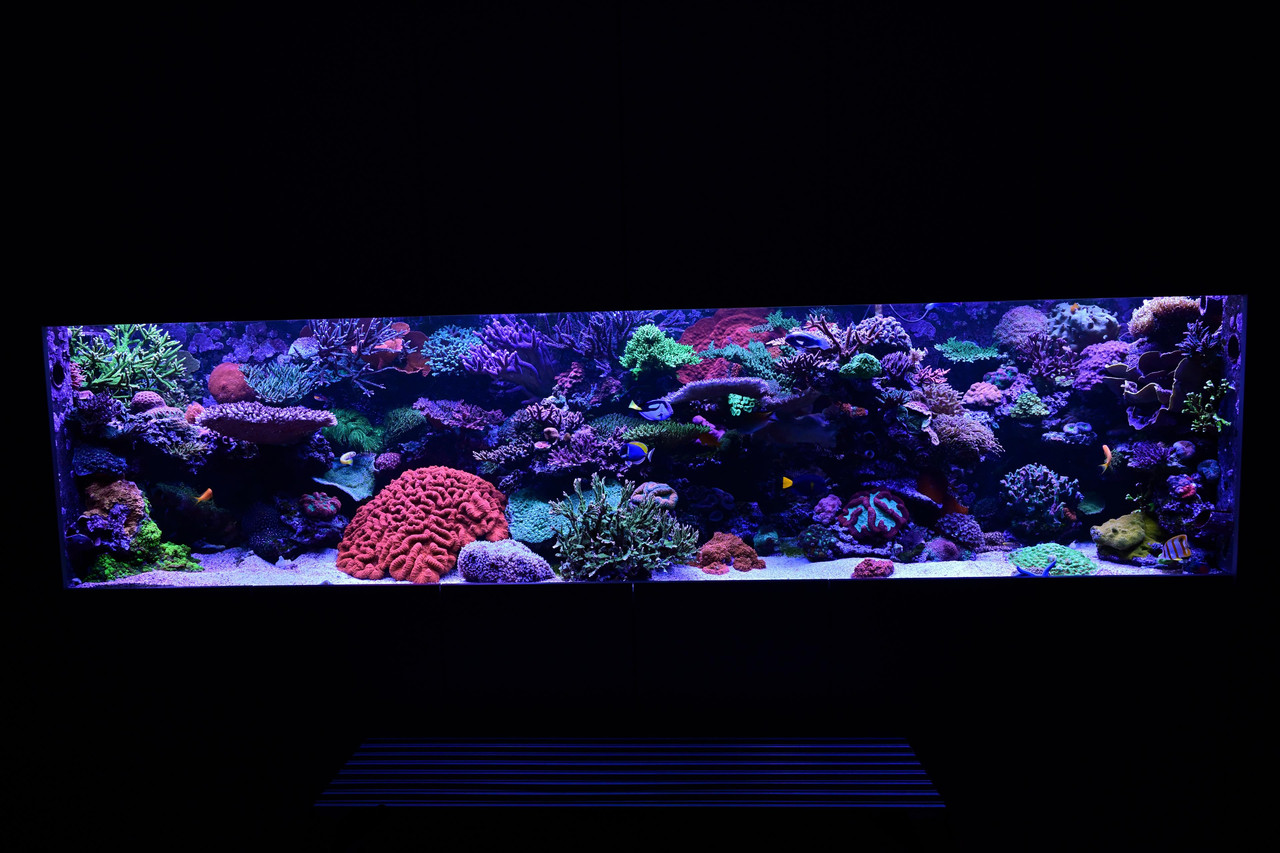
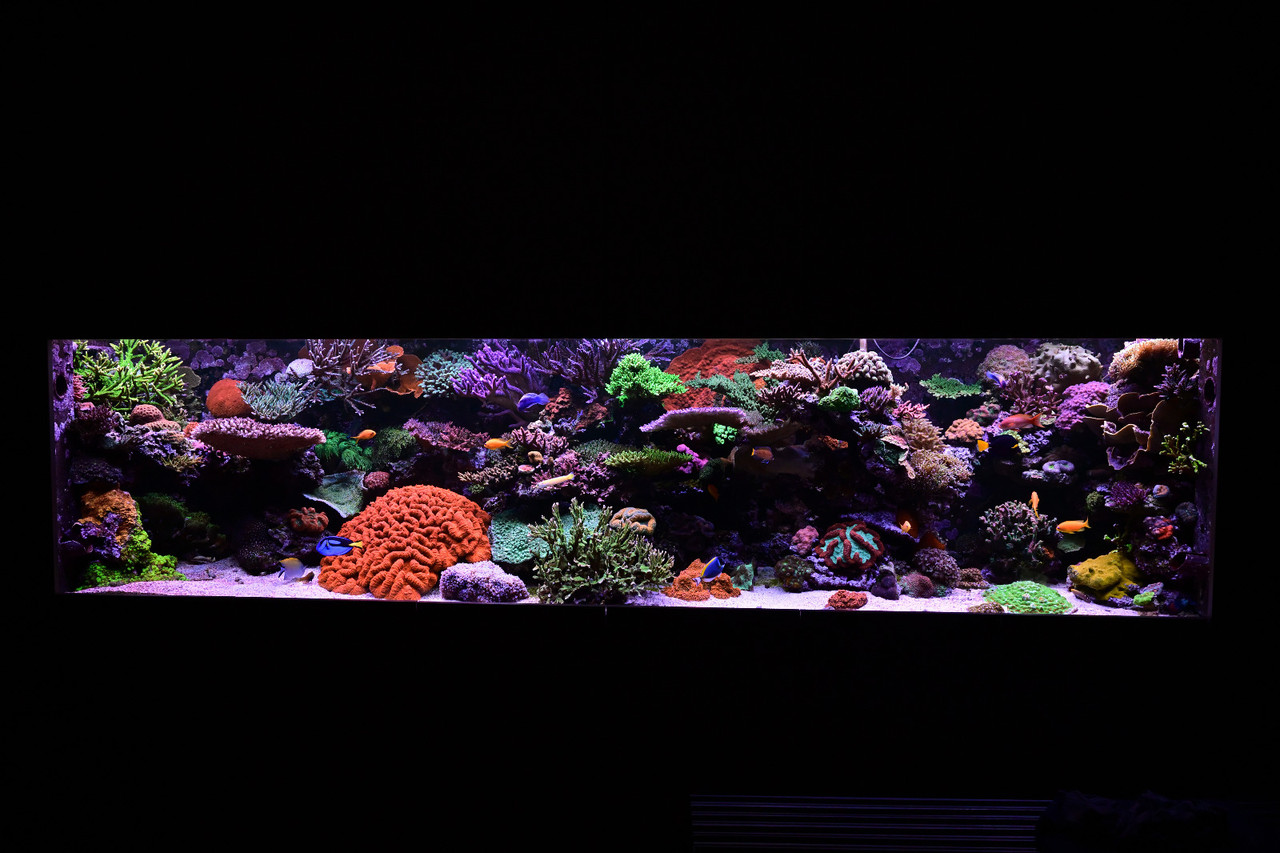
No physical filter:
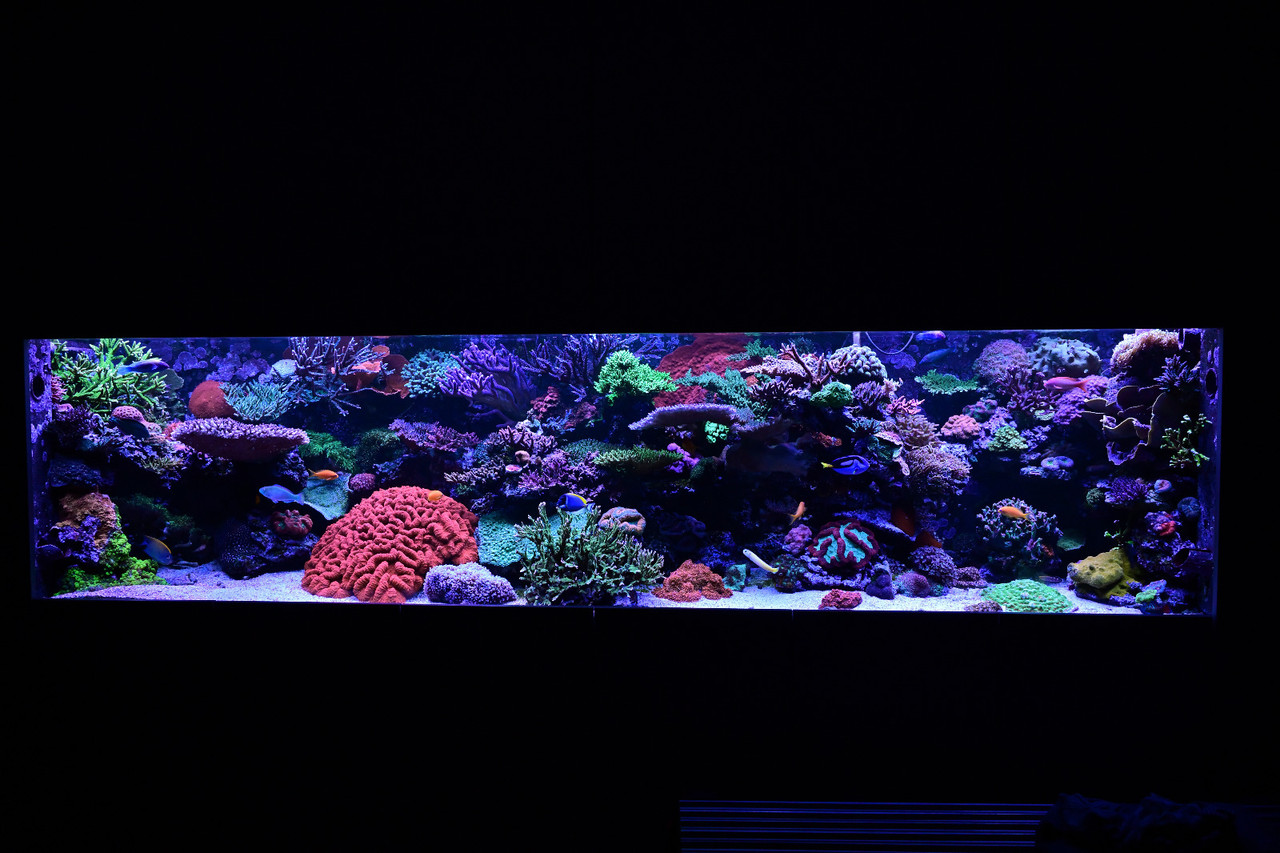
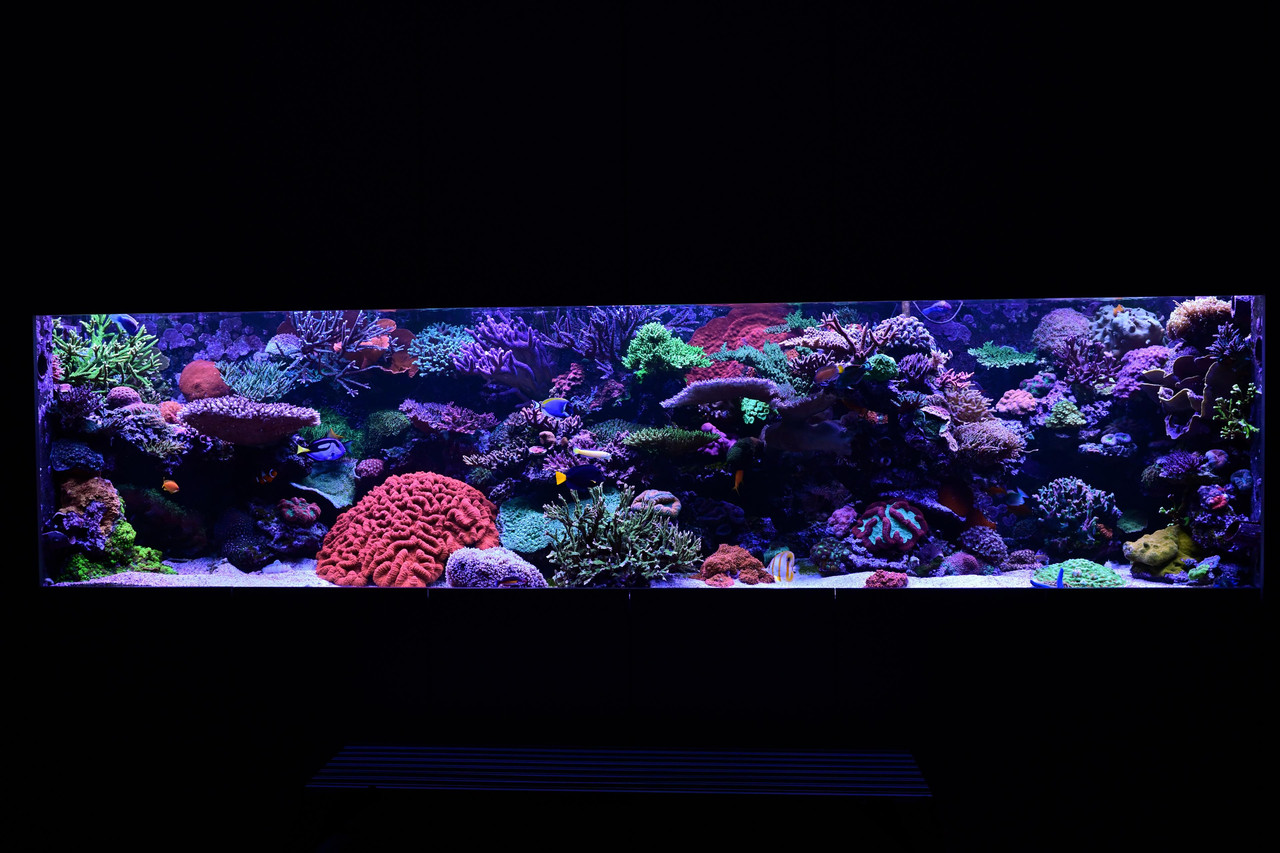
With some alternative settings and a brownfilter.
For that reason, I switched to Highlight-Weighted Metering. So far, this appears to work best, partly because the lighting comes from above and consists of approximately 1,000 watts of LED lighting. To prevent the image from becoming too dark, I apply an exposure compensation of +0.3 EV.
Thank you very much in advance for your thoughts and suggestions!
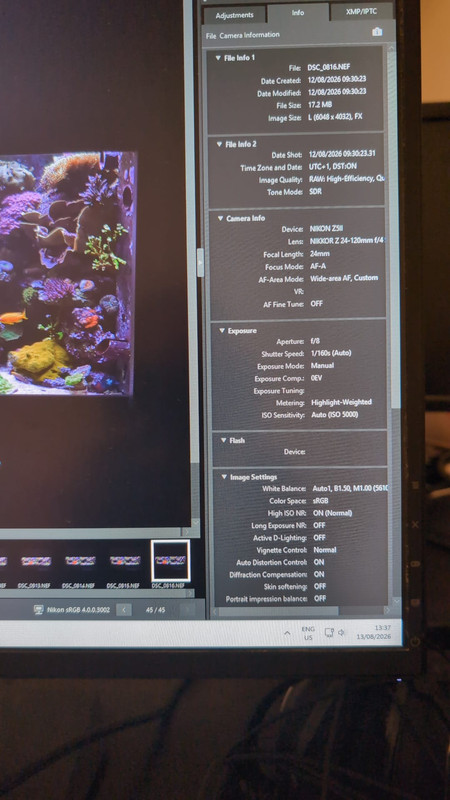
Overview of the settings used:
I have been an enthusiastic marine aquarium hobbyist for over twenty years and enjoy sharing photos of my aquarium through the appropriate channels.
For many years, I photographed with a Nikon D5500.
Over the past three years, however, I found myself using that camera less and less, relying mainly on my smartphone instead.
Recently, I decided to take photography seriously again and purchased a Nikon Z5II along with two lenses: the 105mm Macro f/2.8 and the 24-120mm f/4.
To be honest, I have noticed that I have lost some of my routine over the years.
In addition, my new camera offers many features that I still need to learn how to use effectively.
To properly compare the effects of different settings, I repeatedly take overview photographs of my aquarium from the same position and under consistent ambient and aquarium lighting conditions.
By now, I have taken more than 400 photos and gathered a number of initial observations.
I would appreciate hearing whether my conclusions make sense and whether there are additional ways to improve the photo directly in-camera, without post-processing.
I will start with two photos and then explain how I arrived at these results.
I am not yet satisfied and suspect there is still more performance to be gained from the camera.
At the moment, I am shooting with the 24-120mm f/4 at 24mm. I use Manual (M) mode for maximum control. ISO is set to Auto ISO, while I adjust the other settings manually.
No physical filter:
With some alternative settings and a brownfilter.
My observations so far
Shutter Speed
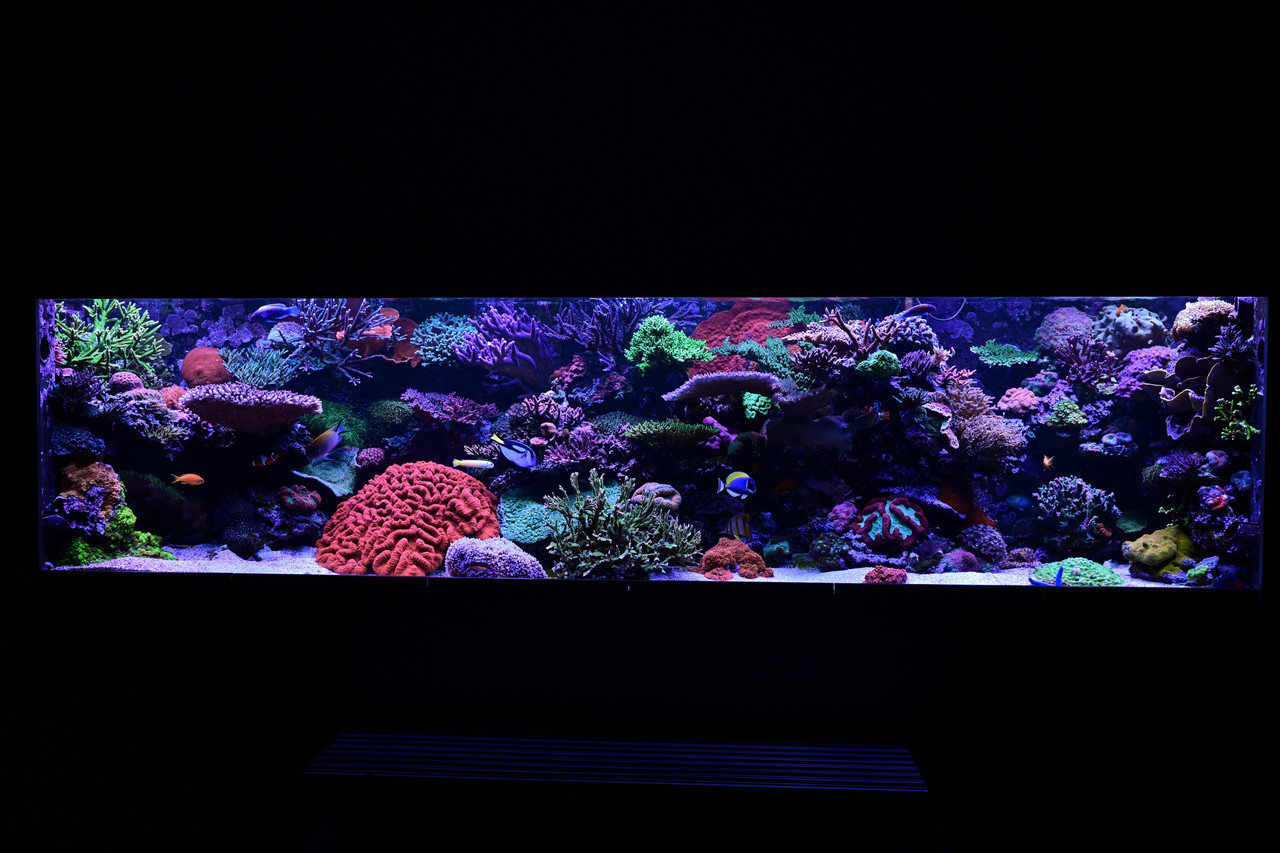
With shutter speeds slower than 1/250 second, motion blur becomes visible when fish make sudden movements. A shutter speed of 1/160 second seems to be the minimum acceptable value, but 1/250 second provides a bit more safety margin.ISO
ISO values above 10,000 appear to introduce noticeably more noise, particularly in the background and shadow areas.Aperture
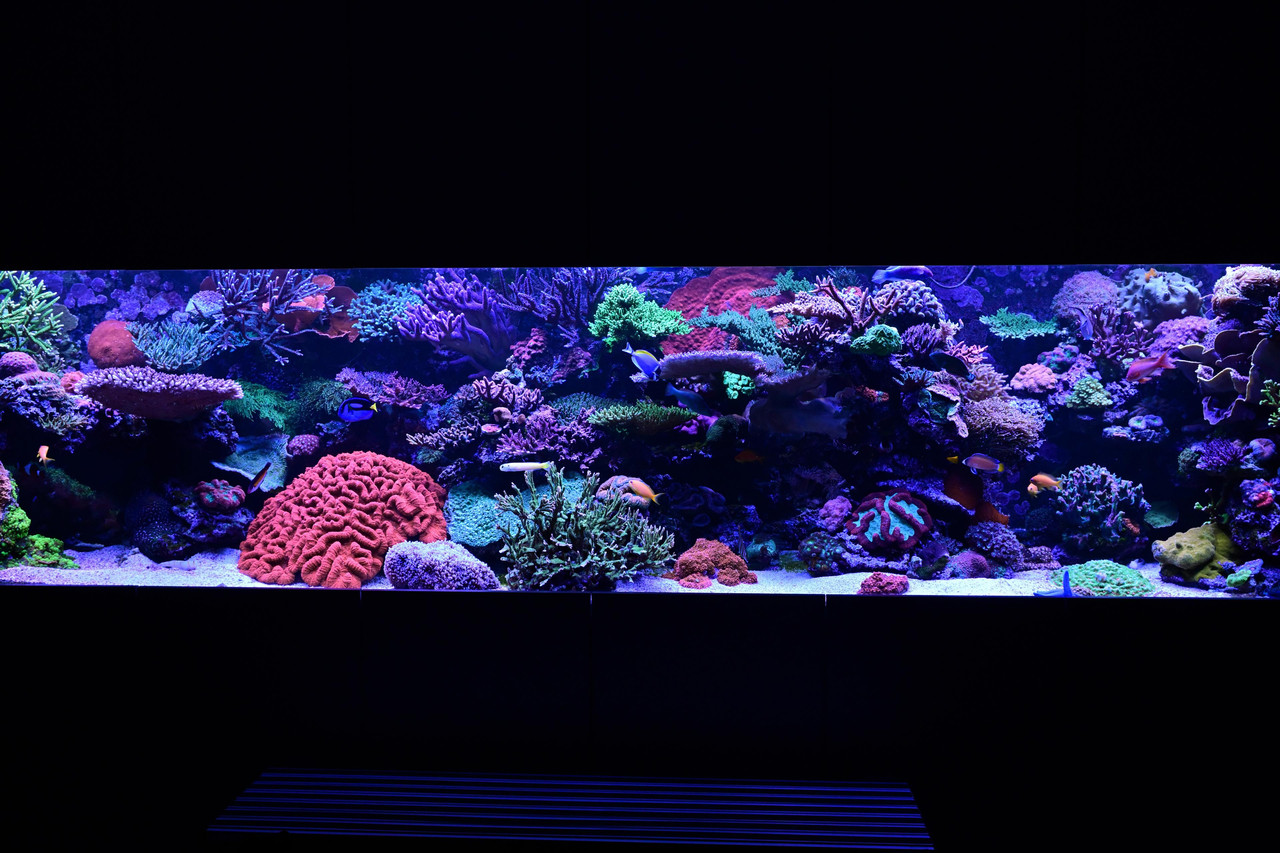
An aperture of f/4 has the advantage of keeping the ISO relatively low. However, the aquarium then appears rather flat, and the sense of depth is not adequately rendered. An aperture around f/7.2 to f/8 seems to be the best compromise.Metering Mode
After roughly one hundred photos, I concluded that my images were consistently overexposed. After trying various settings, I initially settled on Center-Weighted Metering. However, I noticed that the brightness of the gray aquarium cabinet surrounding the tank was influencing the exposure.For that reason, I switched to Highlight-Weighted Metering. So far, this appears to work best, partly because the lighting comes from above and consists of approximately 1,000 watts of LED lighting. To prevent the image from becoming too dark, I apply an exposure compensation of +0.3 EV.
AF-Area Mode
For autofocus, I use a customized Wide-Area AF mode. This allows me to focus specifically on the contents of the aquarium and helps prevent the camera from selecting the cabinet surrounding the tank as the subject.Camera Position
It remains important to position the camera directly in front of the aquarium glass. As soon as I shoot at an angle, clear sharpness differences appear between the left and right sides of the aquarium.Three aspects I am still not satisfied with
1. Sharpness
This is the most important point for me. Is this approximately the maximum sharpness I can achieve, or should I expect more? I have the impression that the entire aquarium is not being rendered sharply. What could be causing this, and which settings should I still experiment with?2. Dark Areas
Due to the Highlight-Weighted Metering, the less brightly lit portions of the aquarium remain quite dark. Because of the moving fish, bracketing does not seem practical. I still plan to experiment with Active D-Lighting. Are there any other in-camera options that might improve the rendering of these darker areas?3. Color
Color reproduction is currently of secondary importance; I prefer to tackle one thing at a time. The difference between Photo 1 and Photo 2 is the use of a brown correction filter. Unfortunately, this filter costs approximately two to three stops of light.My General Question
Do my observations seem reasonable, and are there any specific settings or techniques that could help improve this type of full-tank overview photograph?Thank you very much in advance for your thoughts and suggestions!
Overview of the settings used:
Last edited:


 I understand it to be much sharper but it may have a sweet spot.