Edit this RAW file please.

Blacktop

Senior Member
This is my first bird in flight shot ever. Here is my edit.

_DSC4251.jpg

Download the NEF file, and see what you can do with it. I am most curious.

https://www.dropbox.com/s/wxom1e97wzboimd/_DSC4251.NEF
 

Mike D90

Senior Member
I gave it a shot since I am also into BIF shots. I first want to inform you of what I find with this particular shot as to wrong and right.

I know BIF photography is new to you since you said this was your first BIF shot.

Some tips:
- Never shoot a bird from behind. Always from a profile side or frontal shots (there are a few exceptions). You shot from behind as the bird passed

- Always include the eye(s) and make sure the eye is sharply in focus even if nothing else is. In your shot you cannot see an eye at all

- Use small enough aperture that most of the bird, if not all, is in focus (f/6.7 to f/11 will usually do it). You used f/8 which is good

- Fast enough shutter speed, at least 1/1250th to eliminate blur (in most cases) You used 1/3200th which is more than enough

- Make sure the sun is in the right place to illuminate the bird and not create deep shadow under neath and don't shoot into the sun

- Dark birds against a lighter sky likely need EV compensation of +.5 to +1.0

- Your ISO was ok at 800 but if you had dropped your shutter speed to 1/1250th you could have used a lower ISO and reduced the noise and grain


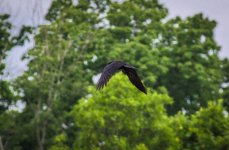
Here is the best I could do first in Lightroom then in Photoshop CS2
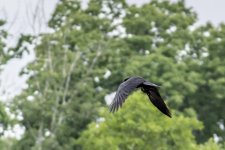

_DSC4251.jpg
 
Last edited:

BackdoorArts

Senior Member
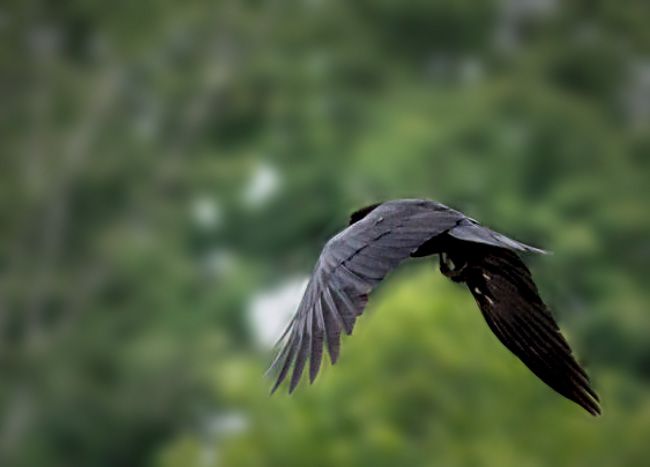
_DSC4251.jpg


Lots of noise. Needed to mask off the background to control the noise and work just on the bird, even after applying noise reduction.
 

Blacktop

Senior Member
Thanks for the advice Mike.

Never shoot a bird from behind. Always from a profile side or frontal shots (there are a few exceptions). You shot from behind as the bird passed


By the time I dropped my ice cream cone, (yes sacrifices were made) and grabbed the camera, the bird was almost gone.

Always include the eye(s) and make sure the eye is sharply in focus even if nothing else is. In your shot you cannot see an eye at all


I asked him nice to turn around, but he don't listen. LOL

Make sure the sun is in the right place to illuminate the bird and not create deep shadow under neath and don't shoot into the sun

Thanks, I'll do that next time.
I do like your edit. Thanks.
 

STM

Senior Member
Too much background and it is too sharp. Place the bird on the intersection of two thirds to add interest and movement into the frame. The image has lost some of its sharpness but that is due to the much tighter crop


Blacktop

Senior Member
Too much background and it is too sharp. Place the bird on the intersection of two thirds to add interest and movement into the frame. The image has lost some of its sharpness but that is due to the much tighter crop


I like it. I already cropped the $it out of it so I didn't dare do it more, but it looks like you did ok with what you had to work with.
 

Mike D90

Senior Member
I know the temptation to shoot a flying bird is high. You have to resist that temptation and just wait for the right shot. Shooting the wrong shot only leads to disappointment at a bad shot. I used to do that a lot. Take your time and get the better shot and learn from each one.

If you have access to a coast line, or close, go shoot sea gulls as they pretty much hover in front of you at times and they fly slower and loiter a lot. They make great practice at composition and exposure control of flying birds. Completely black birds, like your crow, are also difficult to start with. Lighter color birds are a little easier to expose for when learning.

Bird shots that have to be cropped too much just won't yield a very useable image.

If you haven't already, I suggest researching "Back Button Focus". This will cure a lot of issues with BIF shots.
 

Mike D90

Senior Member
Too much background and it is too sharp. Place the bird on the intersection of two thirds to add interest and movement into the frame. The image has lost some of its sharpness but that is due to the much tighter crop


Yes. That is a lot of noise reduction use to get rid of the tremendous amount of noise that was there. It made the bird look like plastic.
 

hark

Administrator
Staff member
Super Mod
There is some info in the sky--my edit is only so you can see it. All I did was to pull the Blue Luminance slider to -100 (yes, I lowered it). That alone popped out some info in the sky. I turned down the highlights to -100 then used the Adjustment Brush to paint over the sky and raise the sky's saturation to +100. I didn't use any noise reduction or anything else. This is to simply let you know there is more info available to you. I'm not the best with all the ins and outs of Lightroom though so maybe someone else can really help get the sky to look better while also allowing the rest of the photo to look good, too. Recently Jake/ @BackdoorHippie used a Photoshop CC screen layer to paint over one of my photos which really helped. Your photo might benefit from something similar to bring out the detail in the sky without creating the halos around the trees like I did here.


_DSC4251.jpg
 
Top