frtorres87
Senior Member
So I`ve been trying to get to know and understand my camera better threw trail and error. Today my wife was cooking and I decided to try and shot some pictures in auto and then try to imitate the same shot in manuel. Lighting seems to be my main problem, and i dont understand why. Maybe you guys can help me.
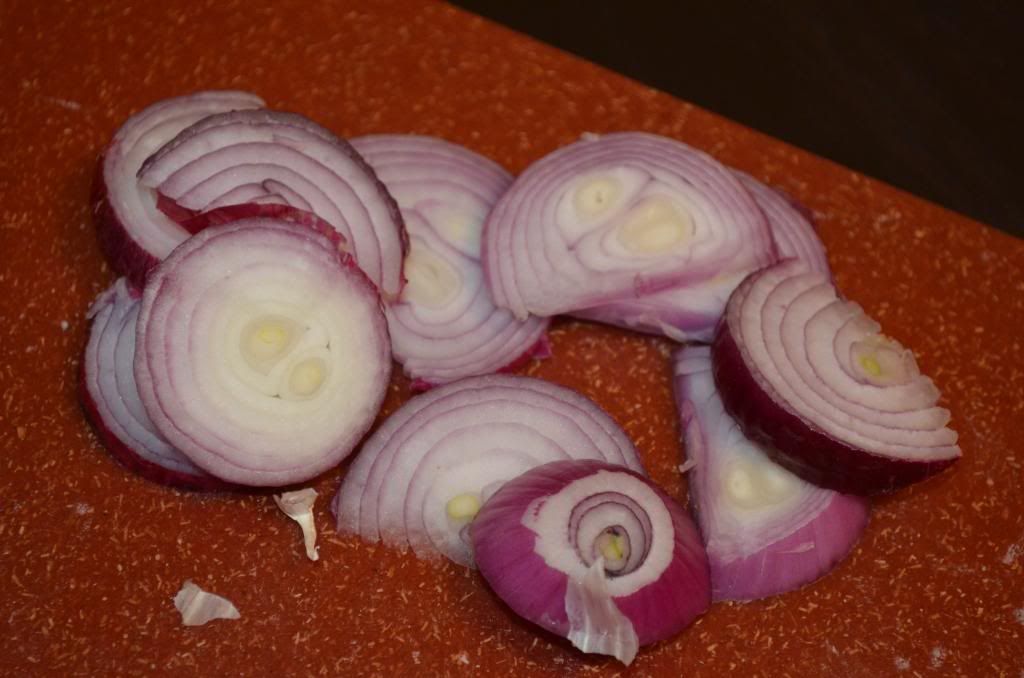
Subject A Shot in Auto)
Subject BShot in Manuel)
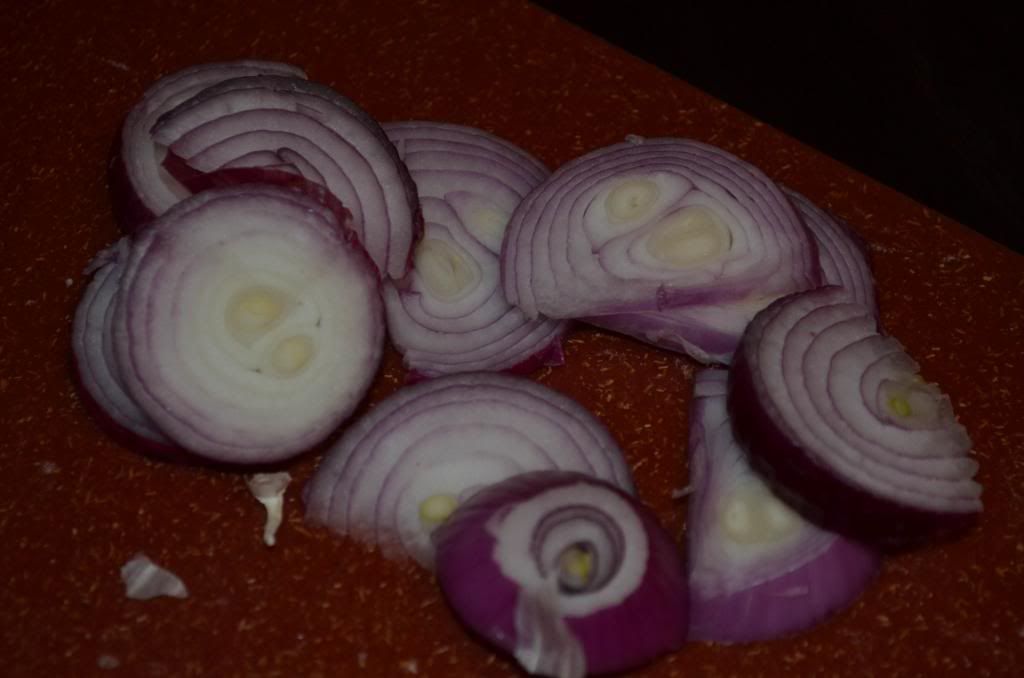
Aperture F5.6
Shutter Speed 1/200
ISO 640
What am I doing wrong?
Subject A
Shot in Auto)
Subject B
Shot in Manuel)
Aperture F5.6
Shutter Speed 1/200
ISO 640
What am I doing wrong?