A Painting... From Start to Finish

Carolina Photo Guy

Senior Member
Some of you here know that I am also an acrylic artist (There! I said it!). I am often asked what goes into a painting.

Here I am going to show you. This is going to be a 16" X 20" landscape. I have not yet figured out exactly what I am going to paint until I get started

on the actual scene itself.

How-ever, I CAN show you what I do from the very beginning.
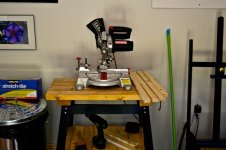
1  Building the stretcher..jpg

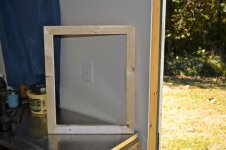
First, I cut the stretcher from a 1/2" X 1 1/2" furring strip. I use furring strips because they only cost me 80 cents each.

After I cut out the individual pieces, I cut the corners so I can make the general shape and size of the painting.
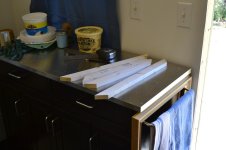
2  Lengths and corners have been cut....jpg

Like this...
 

Carolina Photo Guy

Senior Member
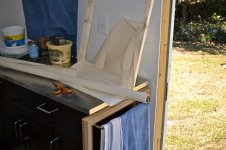
5  The canvas has been pulled tight and stapled..jpg

This canvas is now ready to have the gesso applied.

Gesso is the primer of the art world. It gets the canvas ready to accept paint.

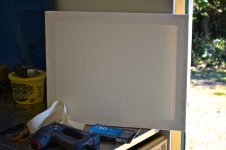
6  And the 1st of 3 coats of gesso has been applied..jpg

This canvas has the first of 3 coats of gesso. I lightly sand after each coat. This helps me to control the "tooth" of the finished canvas.

My next photos will be of the painting in progress.

BTW: Some of you are wondering why I am going through this. Paintings that are IMPORTANT to me always get this treatment.

Building the canvas from scratch helps to get me in the mood to do my best work. A pre-made canvas is just for practice.
 
Last edited:

Carolina Photo Guy

Senior Member
My client list has to be private until I have completed the piece and asked for permission to reveal the name.

And Anthony, you would be the same if our places were reversed. :)
 

Carolina Photo Guy

Senior Member
Many artists forget the importance of naming the piece you are working on, even if its only in your mind.

This shot is a perfect example. If I titled this piece,

"White Cat in a Blizzard"...
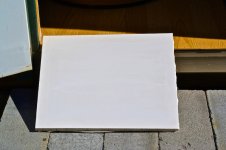
7  White Cat in a Blizzard.jpg

I would already be finished!

How-ever, this piece is titled (in my mind),

"Short Walk in the Woods".

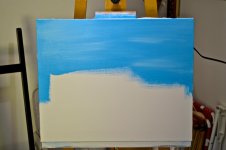
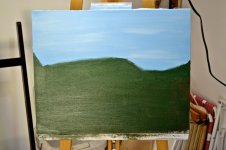
Here are the steps as I build the painting, starting with...

8  Sky and Clouds added....jpg

the blue sky and the clouds.
 

Carolina Photo Guy

Senior Member
"Short Walk in the Woods"

9  Underpainting the mid and fore ground.jpg

You have to have some place to walk, so I begin to place the underpainting of the mid and fore ground.

No detail here, just a way to separate the light from the dark.

But I am not walking through here without SOMETHING to look at.

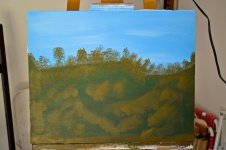
10  Underpainting the foliage.jpg

Since this IS the woods, there needs to be some kind of foliage.

So I underpaint the foliage and the lay of the land.
 
Top