RockyNH_RIP
Senior Member
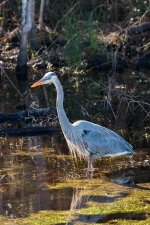
Let me set the stage... "I am a Beginner!" The purpose of this is twofold... first is too point out that each of us should be very critical of our images to "see" where we can improve! In this case, Marcel pointed out about an improvement regarding blurring a tree.. The more I looked, the more I agreed and decided to try and improved.. What follows are 2 methods I tried (and I need to do some more practicing). That is the 2nd point, look at all your tools and options to achieve your goals..
This is NOT a be all/end all... just reminding all that we can make things "better", and even "more better" (my word!) by some study and practice... We need to all welcome constructive critiques of our work....
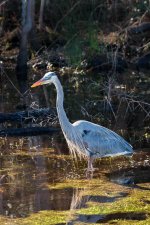
Agreeing with Marcel's assessment that this image could be improved (and again, thank you as I did not see it until you pointed it out), I decided to see if I could improve it... I played some with lightroom using the adjustment brush and graduated filter... I settled on the adjustment brush with
Exp -.41
Contrast 36
Highlights, Clarity & Sharpness -100
Shadows -5
Noise -3
I then did some research to learn how to do some blurring via layers in Elements The image looked decent but when I compared all 3, I found it too bright (as was the original) in the blurred area. Since I was back in lightroom, I used the graduated filter on the final image (reducing exposure & clarity) which I think improved it even more by reducing the brightness from the sun in that area.
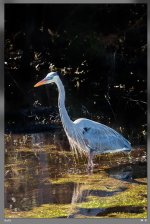
Original
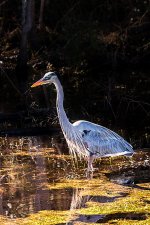
Lightroom Edit
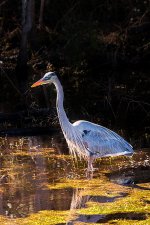
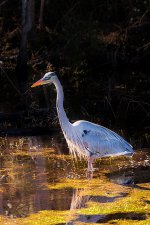
Elements (Blurr) w/ Lightroom final..
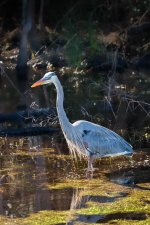
Ok, so not perfect... and likely the LR adjustment is improved and may be adequate...
The layers with the blur tool with some more experience on my part likely will make the best final image.
I obviously need to get more skill on the transition & blending.
Best part, I went and practiced and adjusted deeper than normal and I owe that to Marcel!
I am going to spent some more time learning the finer points of Elements, Layers and Layer Masks.
Have a great day!
Pat in GA
This is NOT a be all/end all... just reminding all that we can make things "better", and even "more better" (my word!) by some study and practice... We need to all welcome constructive critiques of our work....
Just love the light on this one. You could use a bit of local blur to fade the tree in the background before you make the print for your wall.
Agreeing with Marcel's assessment that this image could be improved (and again, thank you as I did not see it until you pointed it out), I decided to see if I could improve it... I played some with lightroom using the adjustment brush and graduated filter... I settled on the adjustment brush with
Exp -.41
Contrast 36
Highlights, Clarity & Sharpness -100
Shadows -5
Noise -3
I then did some research to learn how to do some blurring via layers in Elements The image looked decent but when I compared all 3, I found it too bright (as was the original) in the blurred area. Since I was back in lightroom, I used the graduated filter on the final image (reducing exposure & clarity) which I think improved it even more by reducing the brightness from the sun in that area.
Original

Lightroom Edit

Elements (Blurr) w/ Lightroom final..

Ok, so not perfect... and likely the LR adjustment is improved and may be adequate...
The layers with the blur tool with some more experience on my part likely will make the best final image.
I obviously need to get more skill on the transition & blending.
Best part, I went and practiced and adjusted deeper than normal and I owe that to Marcel!
I am going to spent some more time learning the finer points of Elements, Layers and Layer Masks.
Have a great day!
Pat in GA

