Nathan Lanni
Senior Member
The d7100 is quite a camera and I've got a long way to go of course. But I'm finally beginning to feel a sense that I know how to find camera settings, adjustments, etc. Reading books on composition, mood, etc.
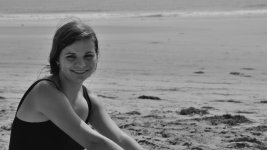
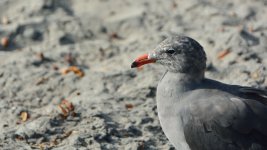
I'm posting a few images and would like some feedback. As group we tend to provide positive reinforcement rather than critique, but please provide positive and negative feedback (uh, swearing would be a little damaging to my ego") ) and suggestions.
) and suggestions.
FWIW
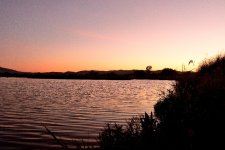
TWILIGHT LAKE
It was almost dark when I shot this one at a small wilderness area, so the image was very dark. Used ViewNX 2 to lighten it up and to create some mood. It has quite a bit of noise. I think Long Exposure NR may have helped improve the noise a bit.
18-200m lens @ 22mm
1/125s @ f/5.6
ISO: 1600
Matrix Metering
High ISO NR: ON - Normal
Long Exposure NR: OFF
Active D-Lighting: OFF
White Balance: Shade, 0,0
Landscape Picture Control
I'm posting a few images and would like some feedback. As group we tend to provide positive reinforcement rather than critique, but please provide positive and negative feedback (uh, swearing would be a little damaging to my ego
) and suggestions. FWIW
TWILIGHT LAKE
It was almost dark when I shot this one at a small wilderness area, so the image was very dark. Used ViewNX 2 to lighten it up and to create some mood. It has quite a bit of noise. I think Long Exposure NR may have helped improve the noise a bit.
18-200m lens @ 22mm
1/125s @ f/5.6
ISO: 1600
Matrix Metering
High ISO NR: ON - Normal
Long Exposure NR: OFF
Active D-Lighting: OFF
White Balance: Shade, 0,0
Landscape Picture Control
Attachments
Last edited: